
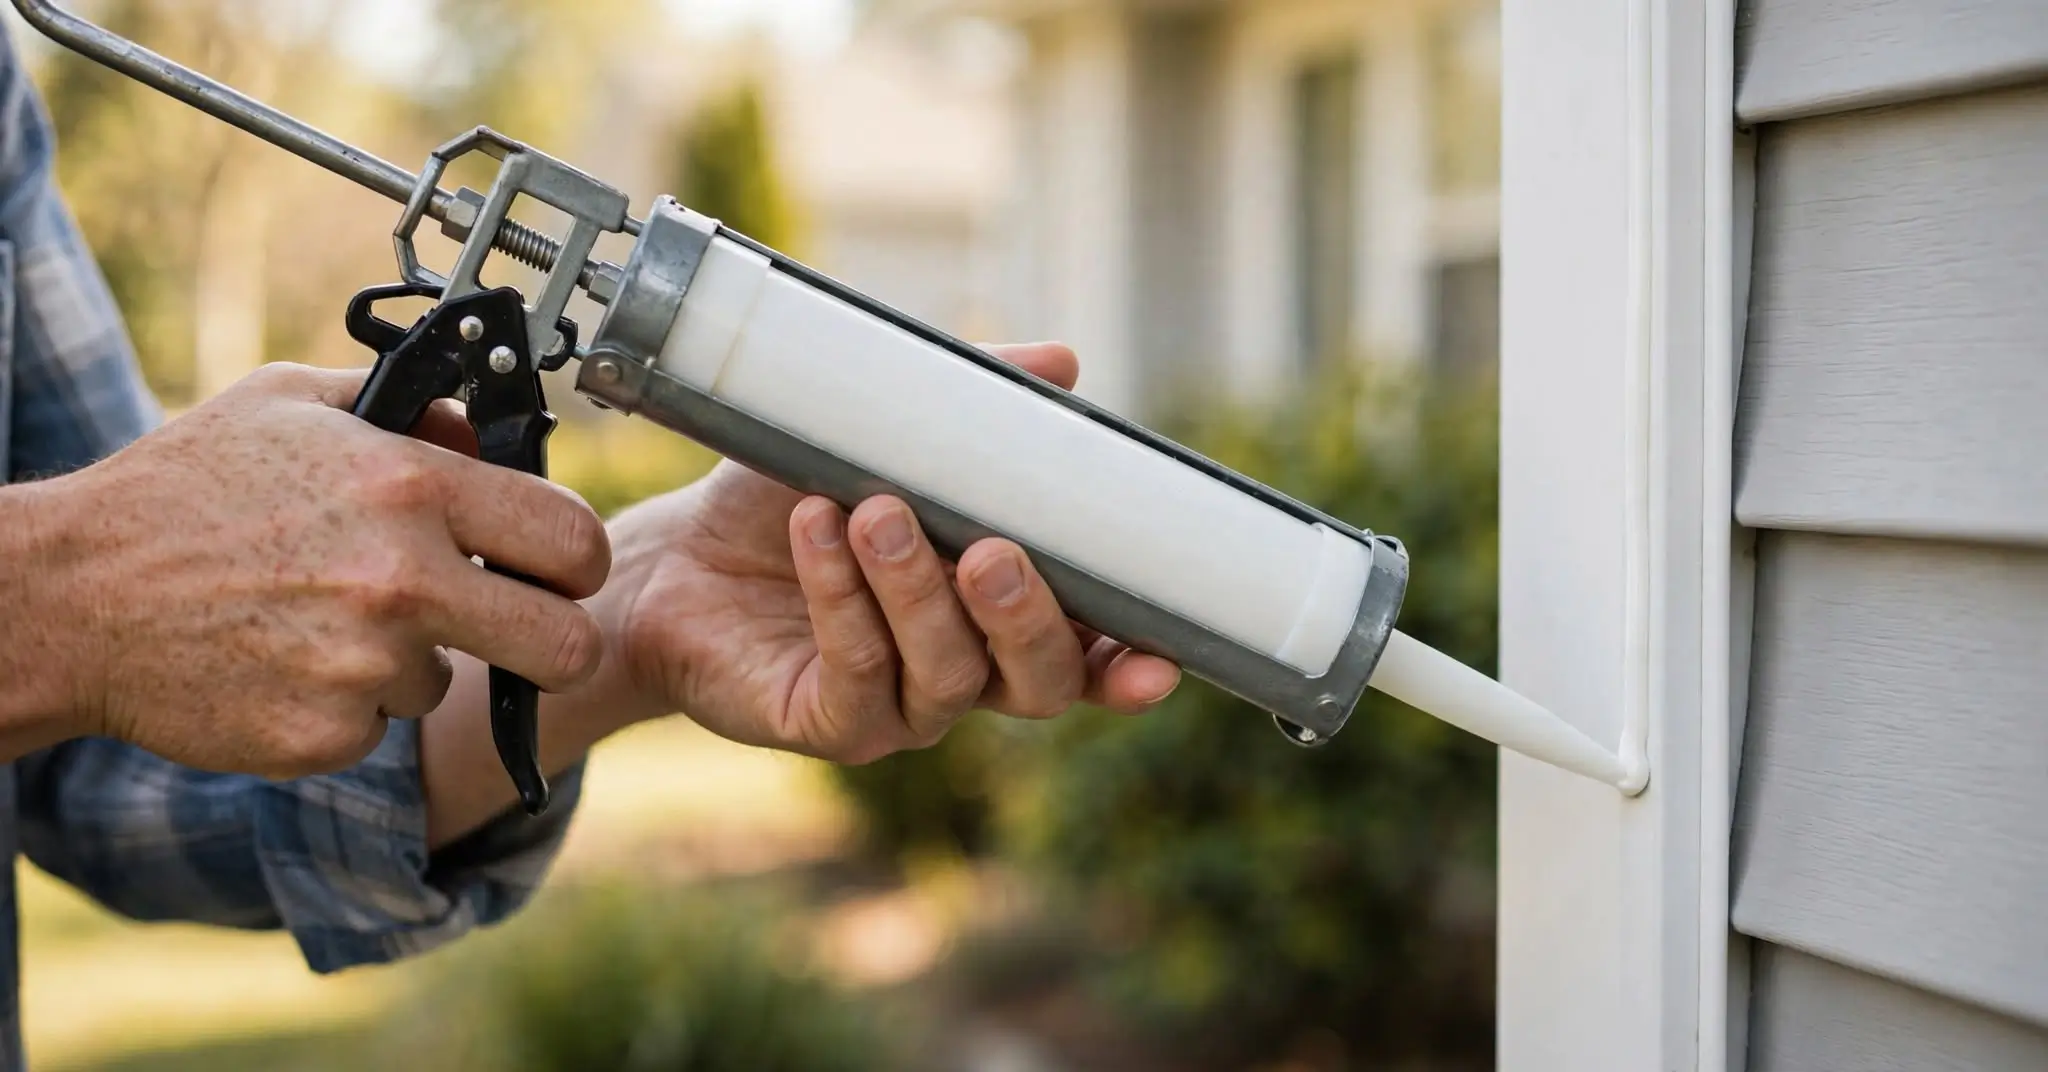
Scrape out all the old caulk and wipe the joint with rubbing alcohol. Let it dry. Fill any gap wider than 1/4 inch with foam backer rod. Cut the tube tip small at an angle. Run a steady bead along the top and sides of the window. Smooth it with a wet finger. Never seal the weep holes or the bottom edge of the outside sill.
Project snapshot
- Skill level: Beginner
- Time: About 30 to 60 minutes per window, mostly spent removing old caulk
- Cost: About $15 to $40 for caulk and basic tools
- Caulk needed: About half a tube per window
- Best weather: Dry, 40°F or warmer, with no rain for 24 hours
Drafty windows waste heat and let water sneak into your walls. Fresh caulk fixes most small gaps in an afternoon. This guide shows you how to caulk windows from start to finish, with no experience needed. First, you will check whether caulk is the right fix. Next, you will pick the right caulk and tools for each side of the window. Then you will learn the joints to seal and the one spot you must leave open. After that come eight clear steps, fixes for common mistakes, and safety tips for older homes.
Does Your Window Need New Caulk?
Most caulk shows warning signs long before it fails completely. Walk around your home and check each window inside and out.
Signs your caulk is failing
- Cracks or gaps along the bead, even thin ones.
- Caulk pulling away from the frame, trim, or siding.
- Hard, chalky, or yellow caulk that no longer feels rubbery.
- Peeling paint or water stains on the wall or trim below the window.
- Mold or mildew along the trim, often in bathrooms and kitchens.
- Cold air you can feel near the frame when the window is shut and locked.
Is caulk the right fix?
Caulk seals gaps between parts that stay still. The U.S. Department of Energy recommends weatherstripping for parts that move. So first find where the air gets in.
On a windy day, close the house and turn on your bathroom and kitchen exhaust fans. Move a lit incense stick slowly around the window. Smoke that flutters marks a leak. Check every window this way, not just the one that feels drafty.

- Leak where the frame meets the wall or trim: Caulk fixes it.
- Leak where the sash meets the frame when closed: You need weatherstripping. Weatherstripping seals moving parts; caulk seals still ones.
- Loose glass in an old wood sash: You need glazing putty.
- Fog between two panes of glass: The glass seal failed. Caulk cannot fix it.
If the leak sits along the frame, caulk is your fix. Next, pick the right tube.
Which Caulk Should You Use on Windows?
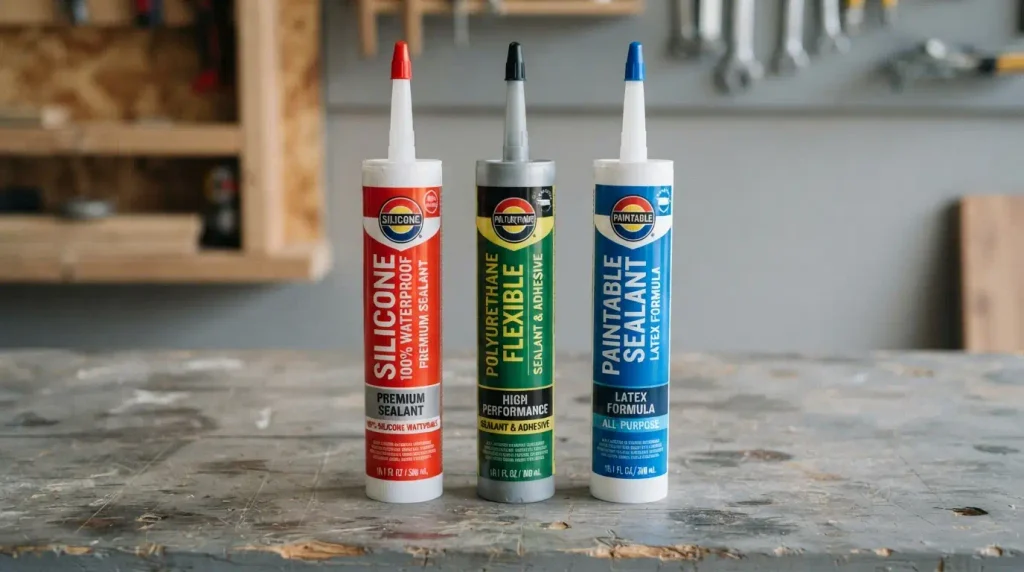
Use 100% silicone or polyurethane outside and paintable acrylic latex inside. Pick a siliconized hybrid for bathrooms and kitchens. The table shows where each type belongs.
| Where you’re caulking | Caulk type | Paintable? | Why it works |
| Outside, against vinyl, aluminum, or glass | 100% silicone | No | Stays flexible and sheds water for years |
| Outside, against brick, stucco, or stone | Polyurethane | Yes, after cure | Grips rough masonry and handles movement |
| Inside trim and walls | Acrylic latex | Yes | Smooths easily and cleans up with water |
| Bathroom and kitchen windows | Siliconized hybrid | Yes | Resists moisture and mildew |
Pick a color that matches the trim. Clear silicone often looks cloudy on white trim, so white is usually the safer pick there. Read the label for the exact temperature range and cure time before you buy.
Best exterior window caulk by siding type
Match the caulk to what the window sits against:
- Vinyl siding or vinyl windows: 100% silicone or a hybrid labeled for vinyl.
- Painted wood trim: A paintable hybrid or polyurethane rated for outdoor use.
- Brick, stucco, or stone: Polyurethane.
- Fiber cement siding: A paintable sealant the siding maker approves.
- Aluminum frames: 100% silicone.
Tools and Materials You’ll Need
Gather everything before you caulk around windows. Caulk does not wait while you hunt for a rag.
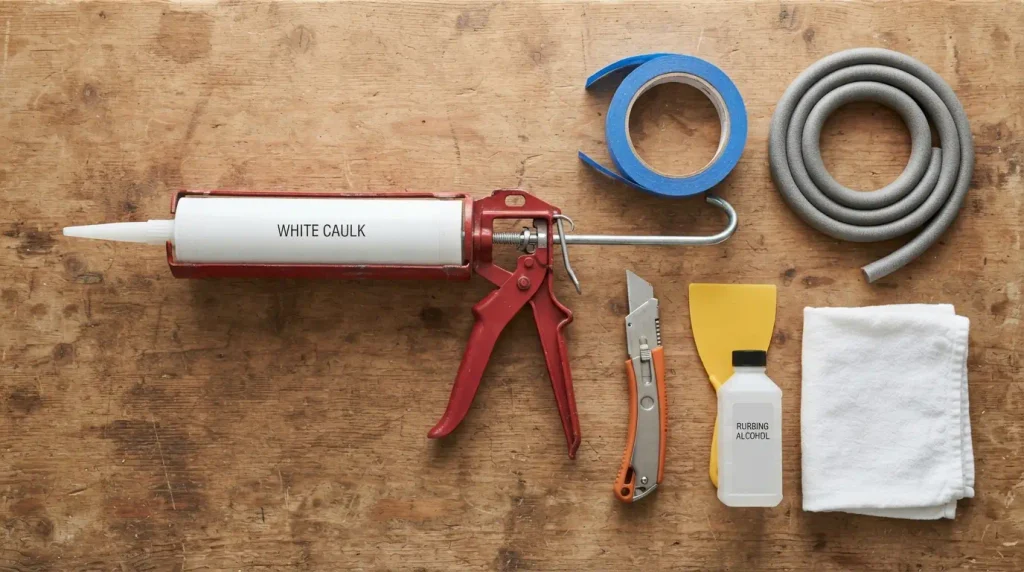
- Caulk: About half a tube per window, based on Department of Energy estimates. Buy one extra tube.
- Dripless caulk gun with a thumb release: It stops the flow the moment you let go.
- Utility knife: For scoring and cutting out old caulk.
- Plastic or metal putty knife: Use plastic on vinyl frames so you don’t scratch them.
- Caulk remover: For softening old silicone.
- Rubbing alcohol and clean rags: For the final wipe down.
- Foam backer rod: For any gap wider than 1/4 inch.
- Painter’s tape: Optional, but great for clean lines.
- Smoothing tool or a cup of soapy water: For finishing the bead.
- Gloves and a sturdy ladder: For safety and reach.
Skip the cheapest ratchet caulk gun. It keeps pushing caulk out after you stop squeezing. That drip is the top reason beginners end up with a messy bead.
When Is the Best Time for Caulking Windows?
Pick a dry, mild day. Many caulk labels list 40°F as the lowest safe temperature. Some silicones allow colder air, so read your tube. You also want at least 24 hours without rain.
Where you live changes the best timing:
- Northern states: Aim for early fall, before the first hard freeze.
- Southern states: Work in spring or fall. Avoid midday sun on south and west walls, since hot caulk gets runny.
- Humid areas like the Gulf Coast: Wait until morning dew dries off the frames.
Once you have the right day, map out exactly where the caulk goes.
Where to Caulk a Window (and Where Not To)
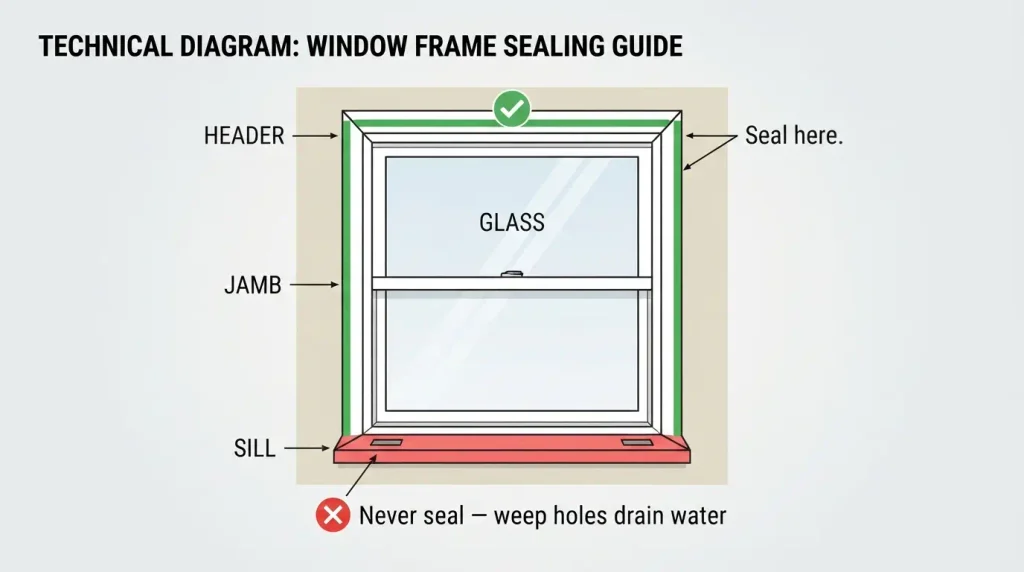
The biggest mistake people make while learning how to caulk windows is sealing the wrong gap. Caulk belongs in some joints and must stay out of others.
Joints to seal on the outside
- Where the window trim meets the siding, across the top and down both sides.
- Where the window frame meets the trim.
- Corner joints where trim pieces meet.
Joints to seal on the inside
- Where the trim meets the drywall.
- Where the trim meets the window frame.
- Where the interior sill meets the wall.
Never seal the weep holes or the bottom sill edge
Most modern windows have small slots near the bottom of the outside frame. These are weep holes. They let rainwater that gets inside the frame drain back out. If you caulk them shut, water gets trapped and can rot the wall.
Also leave the joint under the outside sill open. That gap is another drain path. If the weep holes look clogged, clear them gently with a piece of stiff wire.
Now that you know where the caulk goes, you are ready to start.
How to Caulk Windows Step by Step
Here is how to caulk a window in eight steps. Work on one window at a time. Seal the outside first, since it keeps out rain and wind.
Step 1: Remove the old caulk completely
Never caulk over old caulk. The old layer keeps pulling away and takes the new bead with it.
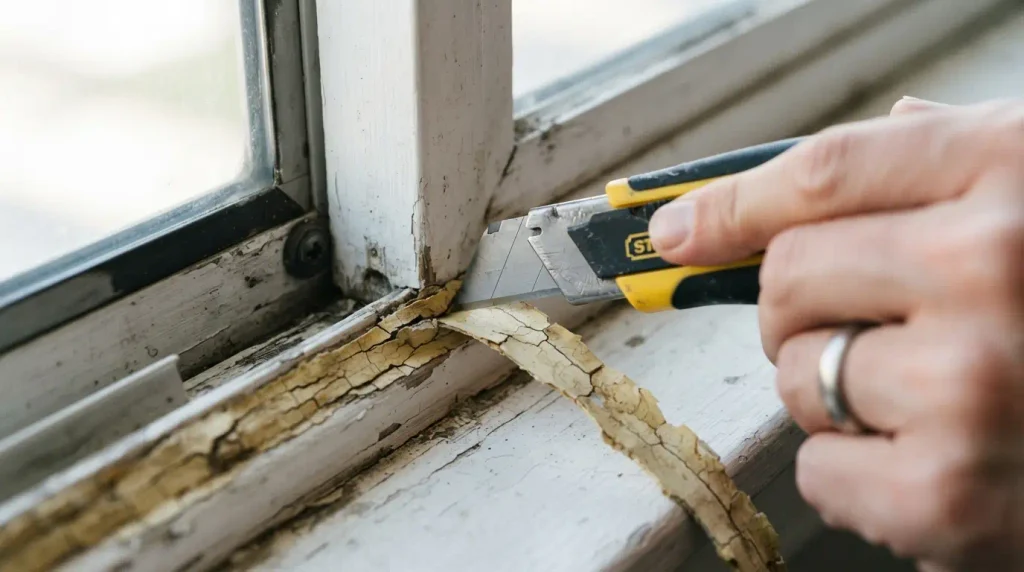
Score along both edges of the old bead with a utility knife, then pull it out in long strips the same way you’d remove old caulk from a tub or tile joint. Scrape off what is left with a putty knife. Old silicone leaves a slick film that new caulk will not grip. Use a caulk remover to soften it, then scrape again. Stubborn old caulk may take a few passes with the remover before it scrapes clean.
Recaulking windows in an older home? Read the lead paint section below before you scrape.
Step 2: Clean and dry the joint
Wipe the joint with rubbing alcohol on a clean rag. This removes dust, grease, and soap film. Let the joint dry completely. Caulk will not stick to a damp surface.
Step 3: Fill gaps wider than 1/4 inch with backer rod
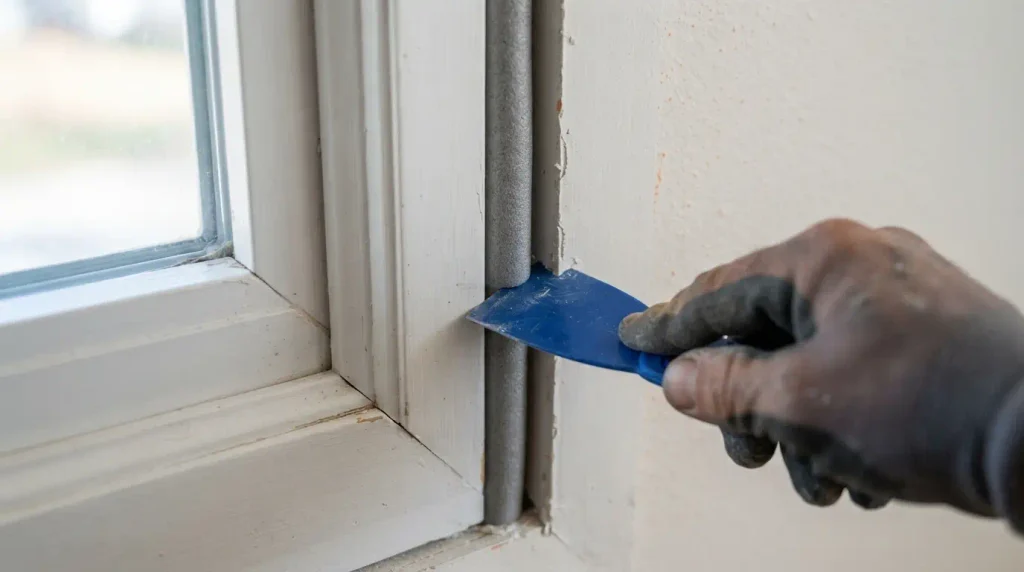
Caulk is a sealant, not a filler. For any gap wider than 1/4 inch, push foam backer rod in first. Choose a rod slightly wider than the gap so it fits snug. Press it in with a putty knife, leaving room for caulk on top. The rod supports the caulk and keeps it from sagging.
Step 4: Tape the edges
This step is optional, but it helps a lot on your first try. Run painter’s tape along both sides of the joint. Leave about 1/8 inch between the tape and the gap. The tape gives you crisp, straight lines even with a shaky hand.
Step 5: Cut the tip and load the gun
Cut the nozzle near the very tip at a 45 degree angle. Start small. You can always cut more, but you cannot make the hole smaller. Poke through the inner seal with the wire on your gun or a long nail. Load the tube and squeeze until caulk reaches the tip.
Practice on a scrap of cardboard first. A few test lines teach you the right speed and pressure.
Step 6: Run the bead
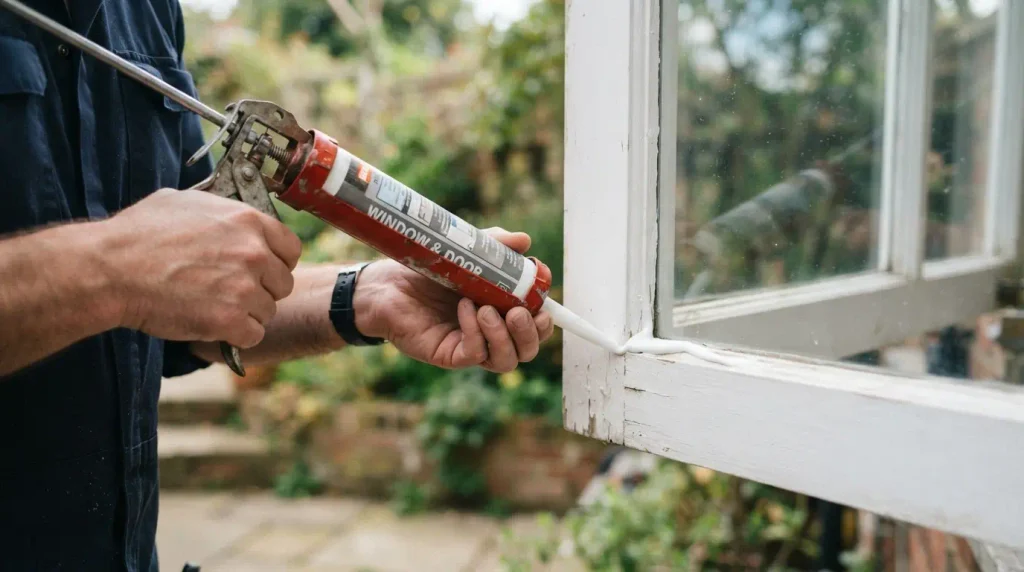
Hold the gun at a 45 degree angle to the joint. Use your main hand on the trigger and your other hand to steady the barrel. Keep your wrists straight and move your whole arm.
Squeeze gently and move at a steady pace. Too slow makes a thick glob. Too fast leaves thin spots. Caulk from one corner to the middle, then stop and press the thumb release. Start at the other corner and meet in the middle.
Step 7: Smooth the bead
Smooth the caulk within a few minutes, before it starts to skin over. For latex and hybrid caulk, dip your finger in soapy water and run it along the bead. For silicone, use a plastic smoothing tool or spoon.
Work in short sections of about 6 inches. Wipe your finger or tool clean between passes. Aim for a smooth, slightly curved bead pressed into both sides of the joint.
Step 8: Pull the tape and let it cure
Remove the tape while the caulk is still wet. Pull it away from the bead at a low angle. Then leave the caulk alone and keep water off it for the time on the label.
Have caulk left over? Push a long nail into the tip, or wrap it tightly with tape. The tube stays usable for touch ups.
These steps work on any window. Outside, though, siding and weather bring a few extra challenges.
How to Caulk Windows From the Outside
Caulking outside windows takes more care than inside work. The caulk faces rain, sun, and big temperature swings. The siding next to the window also changes your technique. Choose an exterior window caulk from the siding list above, then use these tips.
Textured siding
Textured siding makes the tip bounce and leaves a lumpy bead. Let the tip ride only along the smooth window frame edge. The caulk still fills the joint, and the line stays clean.
Brick and stucco
Rough masonry is hard to smooth. Focus on laying down an even bead the first time. Use polyurethane, and work from each corner toward the middle.
Fiber cement siding
Fiber cement expands and shrinks with the weather. A thin bead can tear as the boards move. Lay down a slightly fuller bead so it can stretch.
Working safely on a ladder
Set your ladder on firm, level ground. Keep your belt buckle between the rails and never overreach. If caulking outside windows means climbing to the second floor, and you feel unsure, hire a pro.
With the outside sealed, move indoors for the finishing work.
Interior Window Caulking Tips
Inside, caulk blocks small drafts and gives your trim a clean, finished look. The job is more forgiving than outside work. But every wobble shows at eye level, so keep the bead thin and neat.
Paint the trim after the caulk is ready
Use paintable acrylic latex on trim and sills. Wait until the label says it is ready for paint, often 1 to 2 hours. Then paint the caulk and trim together so the joint disappears.
Bathroom and kitchen windows
Steam and splashes break down plain latex fast. Use a siliconized hybrid with mold resistance on these windows. The same hybrid caulk works well when caulking a bathtub, where moisture is even more constant
Should you caulk around the glass?
On modern windows, no. The glass sits in a factory seal. If you see fog between the panes, that seal has failed. You need new glass or a new sash, not caulk.
How Long Does Window Caulk Take to Dry?
Every product is different, so your tube’s label always has the final word. These typical ranges are for window caulk specifically and help you plan painting and rain around your window project.
| Caulk type | Dry to the touch | Ready for paint | Full cure |
| Acrylic latex | About 30 minutes | 1 to 2 hours | 3 to 7 days |
| Siliconized hybrid | About 30 minutes | 1 to 2 hours | About 7 days |
| 100% silicone | 30 minutes to 1 hour | Not paintable | 1 to several days |
| Polyurethane | Several hours | After it cures, per label | 3 days or longer |
Full cure takes longer in cold or humid weather. Plan your painting and hose cleaning around that. A bathtub or baseboard seal won’t dry on quite the same schedule as a window, since humidity and surface type change things. Those numbers are covered in how long caulk takes to dry.
Common Caulking Mistakes and How to Fix Them
Every first window caulking job has a few rough spots. Most are easy to fix if you catch them early.
Wavy or lumpy bead
If the caulk is still wet, wipe it off with a damp rag and run a new bead. If it has dried, cut out that section and redo it. Do not add a second layer on top.
Caulk smeared on the glass
Wipe latex off with a damp rag right away. For silicone, let it cure first. Then scrape it off the glass with a razor scraper held flat.
Cracks or gaps after it cures
Cracks mean the caulk could not stretch, or the joint was dirty. Cut out the cracked section completely. Clean the joint, then run a fresh bead.
Caulk that won’t stick
Poor grip usually comes from dust, moisture, or leftover silicone film. It can also mean the caulk does not suit the surface. Remove it, clean with alcohol, and use a caulk labeled for that material.
Weep holes sealed by mistake
Cut the caulk out of the holes with a utility knife. Clear them with a stiff wire. Then pour a little water on the outside sill to check that it drains.
A common early mistake is smoothing an entire bead in one long pass instead of short sections. It looks fine at first, then bunches up at the corners once it starts to dry. Redoing it in 6-inch sections fixes the problem for good.
Safety Tips for Older Homes
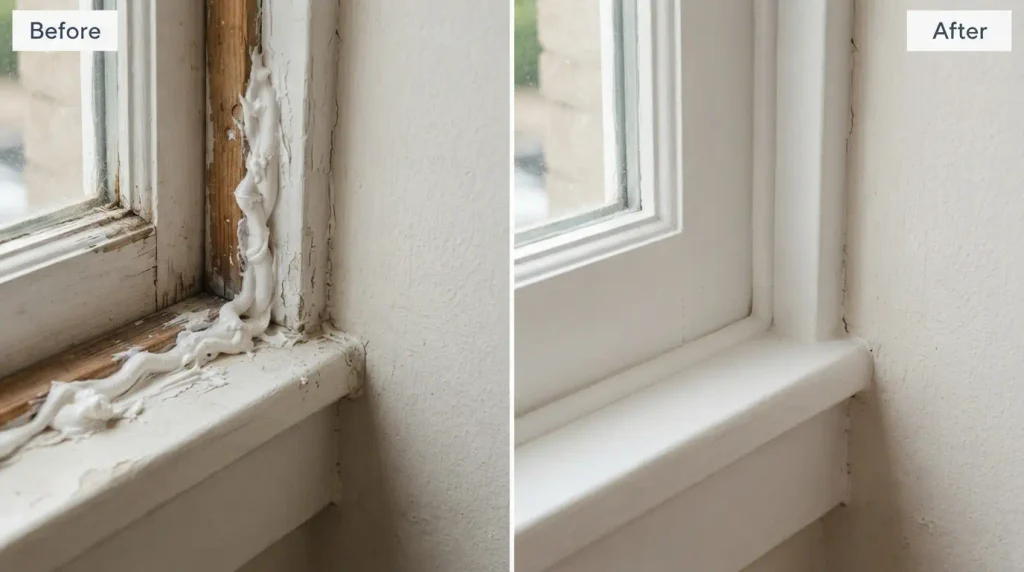
If your home was built before 1978, test for lead before caulking windows. The U.S. banned lead paint in homes that year. Scraping old caulk and paint can release lead dust. That dust is most harmful to young children and pregnant women.
The older the home, the higher the risk. EPA data puts the chance of lead paint at about 24% for homes built from 1960 to 1978. That jumps to 69% for 1940 to 1959, and 87% for homes built before 1940.
Protect your family with these steps:
- Test first with an EPA recognized kit, such as 3M LeadCheck or D-Lead.
- If the test shows lead, mist the area with water before scraping. Never dry sand.
- Lay plastic sheeting below the window to catch chips.
- Keep children and pregnant family members away from the work area.
- Clean up with a HEPA vacuum and wet wipes, not a broom.
- Or hire a contractor certified under the EPA Lead Renovation, Repair, and Painting (RRP) Rule.
The EPA has more detailed guidance on working safely with lead paint.
How Long Does Window Caulking Last?
Quality matters most. Virginia Tech Extension notes that cheap caulk may last only a few years. Premium caulk is often built to last 20 years or more. Good prep helps any caulk reach its full life.
Sun speeds up wear, so south and west facing windows usually need attention first. Check your windows every spring and fall. Write the product name and date on a note inside a closet door. That makes your next round of window caulking faster.
When Caulking Won’t Fix the Problem
Fresh caulk around windows seals small gaps. It cannot fix a window that has bigger problems. Call a window pro if you notice any of these:
- Gaps wider than about 1/2 inch between the window and the wall.
- Fog or moisture between the glass panes.
- Soft, rotting wood on the frame or sill.
- Water leaking inside during storms, even with fresh caulk.
- A sash that will not close tight or lock.
New window installs also use flashing tape and a set sealing order, not caulk alone. That is a job for a trained installer.
Frequently Asked Questions
Should you use caulk or silicone around windows?
Silicone is a type of caulk, not a separate product. Use 100% silicone on the outside for its flexibility and water resistance. Use paintable acrylic latex on the inside. It takes paint and cleans up with water.
Can you caulk windows in cold weather?
Yes, but only within the range on your caulk label. Caulking windows in colder air can stop the bead from curing. Many caulks need 40°F or warmer. The surface also needs to be dry and free of frost.
Should you caulk windows inside and outside?
Yes. Outside caulk blocks rain, wind, and bugs, so it matters most. Interior window caulking stops small drafts that get past the outer seal. Do the outside first.
Can you paint over window caulk?
Paint works differently on latex or silicone caulk. You can paint acrylic latex, most hybrids, and many polyurethanes. You cannot paint 100% silicone because paint will not stick to it. Wait until the label says the caulk is ready for paint.
Is it hard to learn how to caulk windows?
No. Most beginners get a clean bead after a few practice runs on cardboard. Removing old caulk takes the most time. The work gets faster with every window.
Why is my window still drafty or leaking after caulking?
The air may be leaking where the sash meets the frame, which needs weatherstripping. Leaks can also come from sealed weep holes, caulk over dirty joints, or failed glass seals. Run the smoke test again to find the exact spot.
Start With Your Draftiest Window
Now you know how to caulk windows the right way, from spotting leaks to smoothing the final bead. Start with your draftiest window this weekend. Run the smoke test, pick the right tube, and follow the eight steps. If the leak is at a moving part, weatherstripping is your next project.

About HomeFixStyle
HomeFixStyle is a home improvement blog dedicated to helping readers create better, more comfortable, and stylish homes. We share practical ideas, helpful guides, home decor inspiration, renovation tips, and simple solutions for everyday home projects. Our goal is to make home improvement easier to understand and apply, whether you are updating one room or improving your entire home.