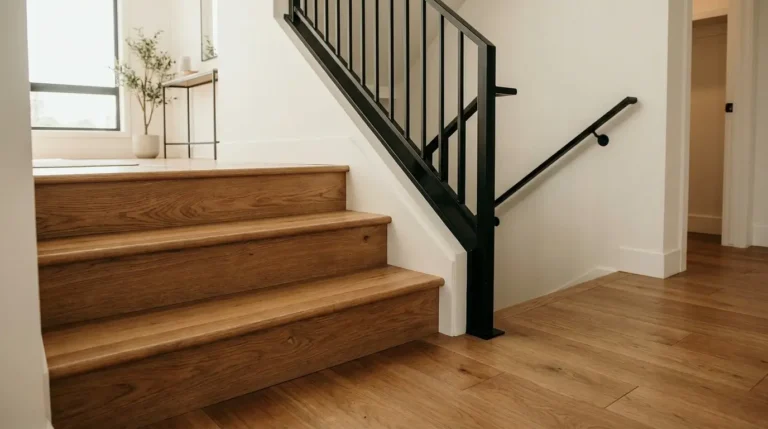

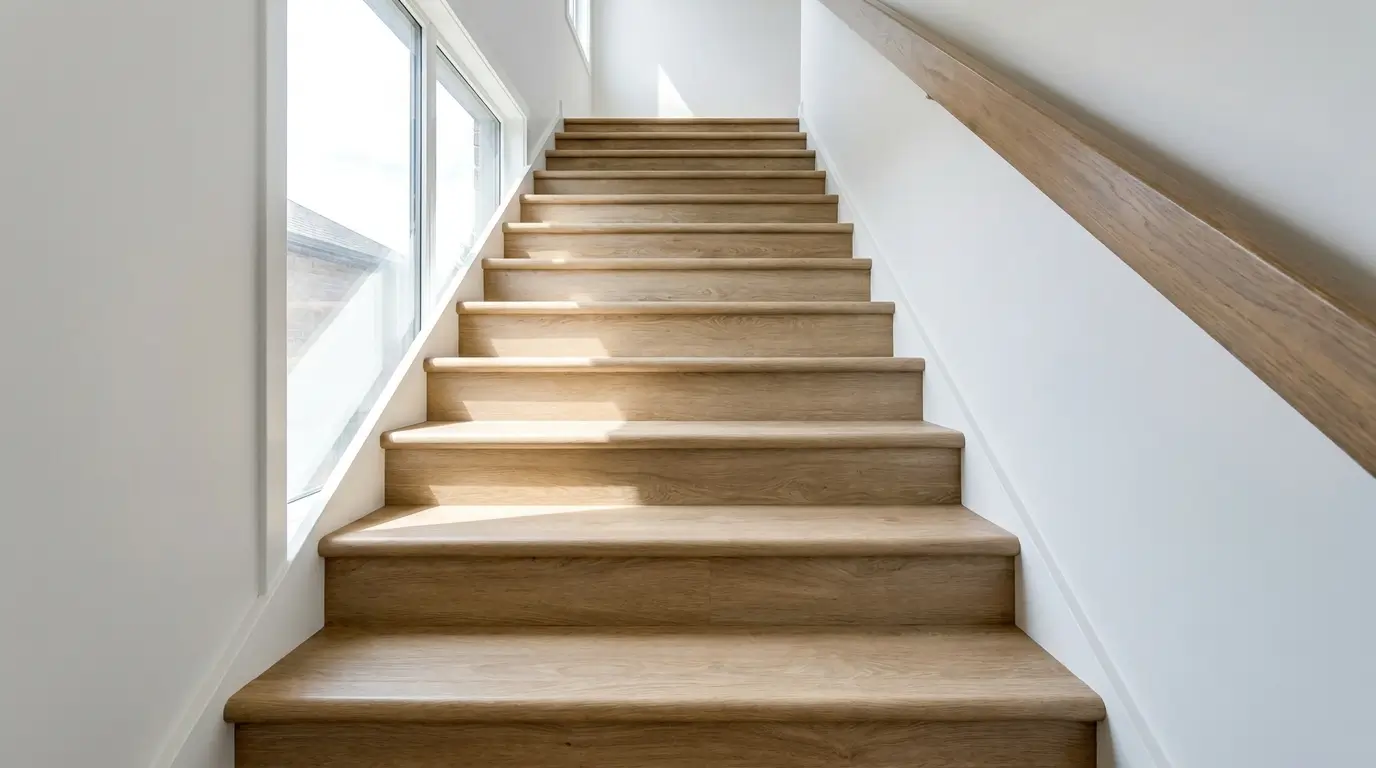
Vinyl plank flooring on stairs holds up well when it is glued down the right way. Every plank needs its backing removed first, since that padding is the main reason treads come loose later.
You’ll need the right tools, a clean subfloor, and either stair nosing or one-piece treads to finish each edge. From there, correct installation, cure time, and avoiding common mistakes decide whether it lasts. Real costs, how vinyl compares to hardwood and carpet, care tips, and the building code details on riser height all factor into whether this project is worth doing yourself or hiring out.
Is Vinyl Plank Flooring on Stairs a Good Choice?
Vinyl plank flooring on stairs is a good choice for most homes, especially with pets, kids, or heavy foot traffic. It resists water, scratches, and daily wear better than carpet. It also costs less than solid hardwood in most cases, as long as it is glued down correctly.
But stairs are not the same as a flat room. Every step takes direct impact from feet, shoes, and paws. That impact changes how the material should be installed and finished.
The Real Pros of Vinyl Plank on Stairs
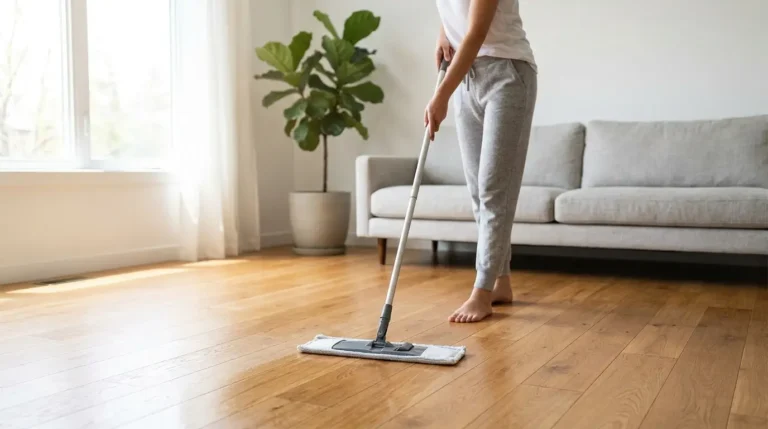
Vinyl plank holds up well in high traffic areas. It resists spills, muddy shoes, and pet claws better than carpet does. Cleaning is simple. A damp mop and a neutral cleaner keep it looking new. It also matches your existing floors, so the stairs blend into the rest of the home instead of standing out.
The Real Trade-Offs to Know Before You Start
Some vinyl finishes get slippery when wet or dusty. A textured finish or added grip strip on the nosing solves this in most homes.
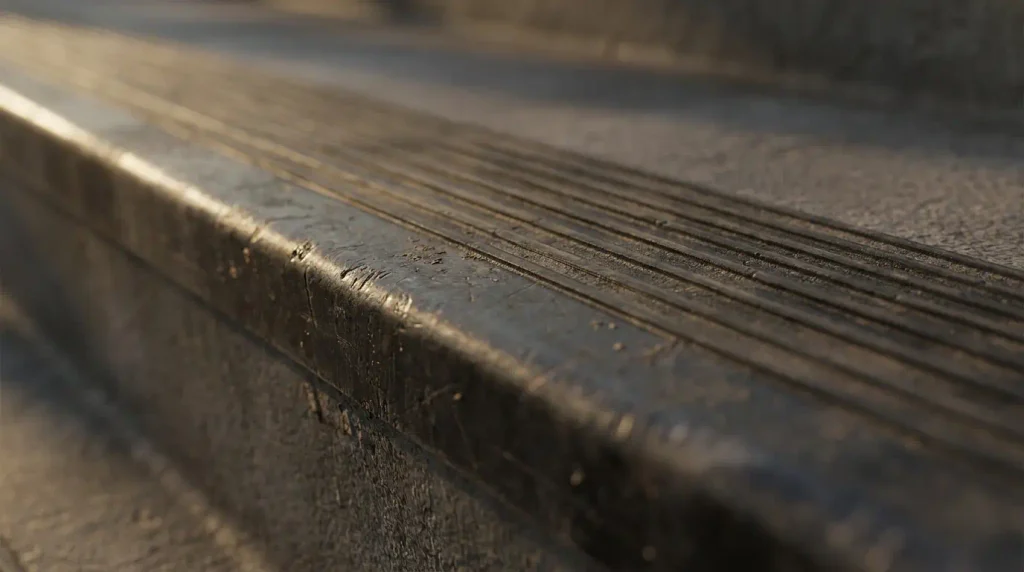
Repairs are also harder than they look. A cracked plank on a step usually means replacing that whole piece, not just patching a corner. Budget planks with a thin wear layer wear out faster on stairs than they do on a flat floor. Every step gets full body weight on a small surface.
The Padding Problem Nobody Explains Properly
Most vinyl plank comes with a foam or rubber backing attached to the bottom. This backing helps with sound and comfort on a flat floor. On a staircase, it causes a real problem.
Why Backing Has to Come Off Before It Touches a Stair
Adhesive needs a solid surface to bond to. A foam backing compresses under pressure and breaks that bond over time. That is how a tread starts to lift or shift after a few months of use.
Most flooring installers agree on one rule. Any padded plank must be stripped down to bare vinyl first. That applies to both the tread and the riser.
How to Remove It Without Damaging the Plank
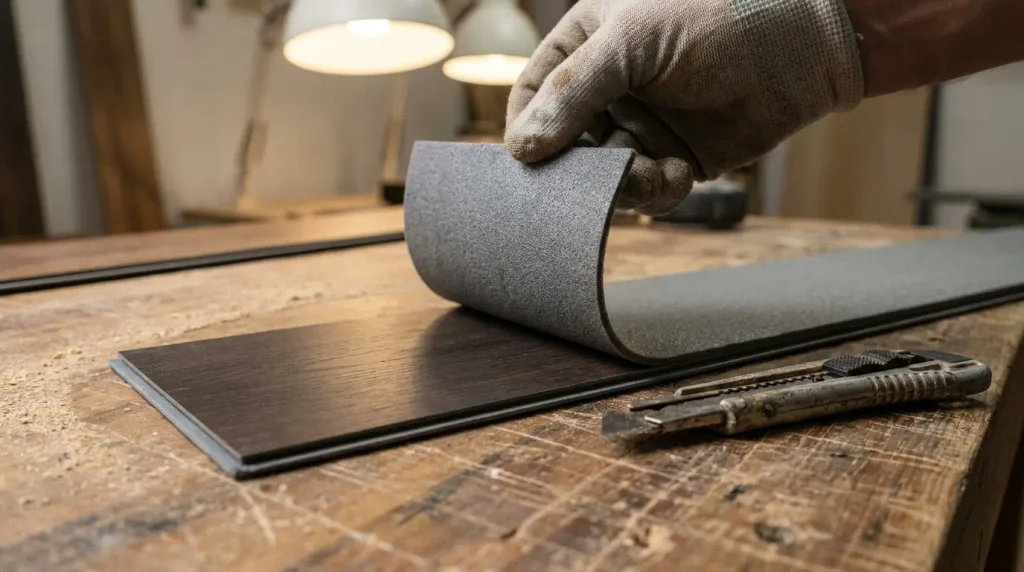
Score the backing lightly with a utility knife, then peel it off in one motion. Work slowly near the edges, since that is where tearing happens most. A heat gun on low can soften stubborn glue left behind. Once the backing is off, wipe the plank with a vinyl-safe cleaner. This removes leftover residue before you apply adhesive.
Tools and Materials You’ll Need
Good prep starts with the right gear. Skipping a tool here often means a redo later.
Tools
You will need a tape measure, a straightedge, and a utility knife for clean cuts. A jigsaw handles curved cuts around bullnose edges. Add a notched trowel for spreading adhesive and a J-roller for pressing planks flat. Safety glasses and gloves protect you during the cutting stage.
Materials
Buy enough vinyl plank to cover every tread, riser, and landing, plus ten percent extra for waste. You will also need stair nosing or one-piece stair treads. Pick a pressure sensitive adhesive rated for both vertical and horizontal stair use. Floor patch handles any leveling on old surfaces.
Two Ways to Finish Stair Edges
Every stair edge needs a finished, rounded lip. There are two common ways to get there.
Plank Plus Stair Nosing
This method uses cut vinyl planks on the tread and riser. A separate nosing piece caps the front edge. It costs less but takes more precision, since the nosing has to line up exactly with the plank cut.
One-Piece Vinyl Stair Treads
These combine the tread surface and the rounded edge into a single piece. There is no seam to align, which speeds up installation and gives a cleaner, factory look. They usually cost more per step than plank plus nosing.
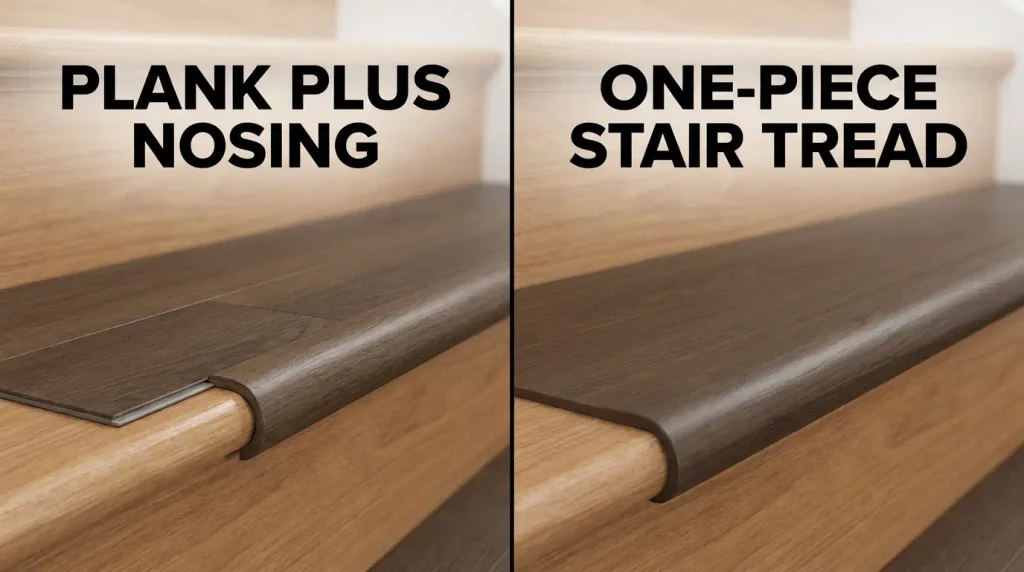
Vinyl nosing matches your plank color and grain, so the transition looks smooth and natural. Metal nosing, usually aluminum, holds up better under heavy wear. It works well in rental properties or high traffic homes. It does create more of a visible break between the tread and the edge. That makes it a style trade-off as much as a durability choice.
Preparing Your Stairs for Installation
Every existing surface has to be flat, clean, and free of anything that could stop the adhesive from bonding.
Start by removing carpet, tack strips, and staples down to bare wood. Sand down any high spots and fill gaps or dips with floor patch. Vacuum thoroughly, since dust is the main reason adhesive fails to hold. Unlike a flat floor install, stairs skip underlayment entirely. The adhesive needs direct contact with the subfloor to hold under repeated impact.
Removing Old Glued-Down Carpet Padding
Glued-down carpet padding is stubborn. A flat pry bar or floor scraper works best for lifting the edges. Once you get a section started, pull steadily instead of yanking. Fast pulls tend to tear the padding and leave more residue behind. A citrus-based adhesive remover softens any leftover glue so it scrapes off clean.
How to Install Vinyl Plank Flooring on Stairs, Step by Step
This is the part where precision matters most. Take your time on the first few steps, since the process gets faster once you find a rhythm.
Measuring Each Tread and Riser
Stairs are rarely perfectly uniform, even in newer homes. Measure the width, depth, and height of each tread and riser separately. Label every cut so you install the right piece on the right step.
Installing the Riser
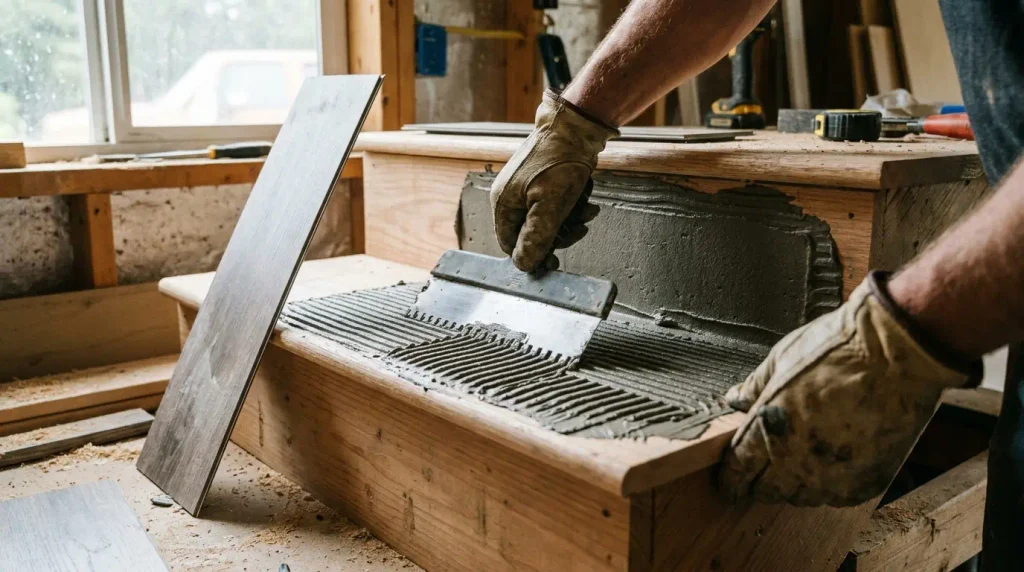
Work from the top of the staircase down, so you never have to step on fresh adhesive. Apply pressure sensitive adhesive to the back of the riser piece with a notched trowel. Press it into place and roll it flat with a J-roller.
Installing the Tread
Cut the tread plank to fit snugly against the riser below it. Spread adhesive evenly across the stair surface. Set the plank down and press firmly from the back edge toward the front to push out air bubbles.
Installing the Stair Nose
Fit the nosing piece over the front edge of the tread. Secure it with adhesive rated for the material you chose, whether that is vinyl-matched or metal nosing. Check that the nosing sits flush with no gap underneath.
Finishing a Stair Landing
A landing installs much like a regular floor. Lay full planks starting from the most visible edge, then work toward the wall. Where the landing meets the top stair, use the same nosing style as the rest of the staircase. This keeps the whole look consistent. This step is where most vinyl plank flooring on stairs projects start to look truly finished.
Letting the Adhesive Cure
Most pressure sensitive adhesives need 24 to 48 hours to bond fully. Keep foot traffic off the stairs during this window, even if the planks feel set. Walking on them too soon is a common reason treads shift later.
Common Mistakes to Avoid When Installing Vinyl Plank on Stairs
A few mistakes show up again and again on stair projects. Floating the planks instead of gluing them down is the most common one. It almost always leads to loose treads later. Skipping the backing removal step is another mistake. That padding quietly ruins the adhesive bond over weeks or months.
Rushing the measurements causes gaps and uneven nosing lines. Those are hard to fix once the glue sets. Using the wrong adhesive is a quieter mistake. One meant for flat floors will not hold on a stair edge, and lifting shows up within the first year.
Building Code Details That Affect Your Install
Building codes set limits on stair dimensions for safety reasons. Riser height across a staircase generally cannot vary by more than three eighths of an inch from step to step. Stair nosing overhang is typically capped between three quarters of an inch and one and a quarter inches.
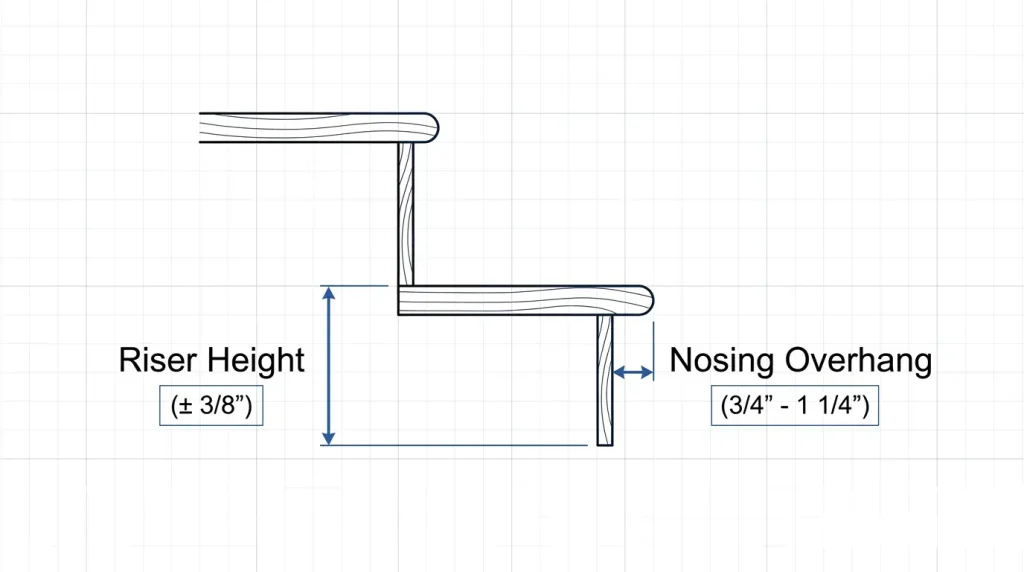
Adding flooring changes these measurements slightly. Check your top and bottom steps after installation. The Consumer Product Safety Commission tracks falls as a leading cause of home injury. Stairs are where a large share of those falls happen. That is why these code details matter more than they seem to.
How Much Does It Cost to Install Vinyl Plank on Stairs?
Installing vinyl plank on a standard staircase typically costs between 800 and 2,000 dollars for twelve to fourteen steps. The final price depends on the finishing method and whether you hire a professional. Plank plus nosing sits on the lower end of that range. One-piece stair treads cost more but save time and labor. A DIY install cuts most of the labor cost, leaving mainly materials and tools as your expense.
Vinyl Plank on Stairs vs. Other Materials
Choosing the right material means weighing looks against daily performance.
| Material | Water Resistance | Durability on Stairs | Typical Cost |
| Vinyl plank | High | High, when glued down | Low to moderate |
| Hardwood | Low | High, but shows damage | High |
| Carpet | Low | Low, wears fast on edges | Low to moderate |
Vinyl Plank Flooring on Stairs vs. Hardwood
Hardwood offers a classic look and can be refinished many times over its life. It also costs more upfront and shows water damage faster. Vinyl plank costs less, resists moisture better, and still gives you a wood look with far less upkeep.
Vinyl Plank vs. Carpet
Carpet feels soft underfoot and muffles sound between floors. It also traps dirt, stains easily, and wears out fast on stairs. Vinyl plank cleans up quickly and holds its look longer under heavy foot traffic.
Styling Ideas for Vinyl Plank Stairs
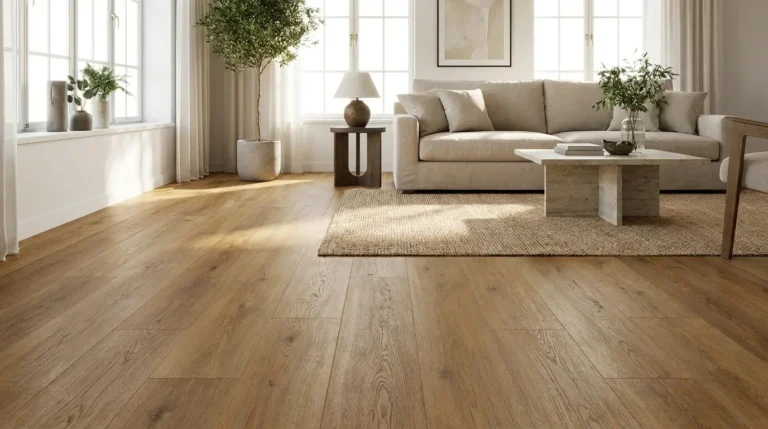
A light oak or whitewashed vinyl plank color creates a clean, modern staircase. Deeper tones like walnut or espresso suit farmhouse or traditional homes. Pairing light treads with a dark stair riser adds contrast without repainting the whole staircase.
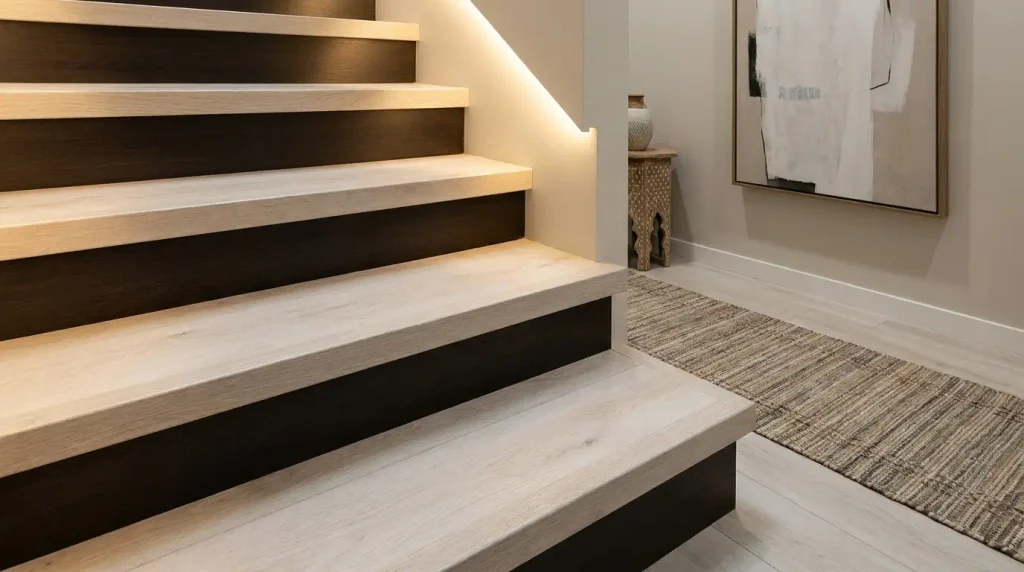
Carrying the same vinyl plank flooring for stairs up from your entryway or living room ties the whole space together
Caring for Vinyl Plank Stairs
Sweep or vacuum regularly to keep grit from scratching the surface. Mop with a damp cloth and a pH neutral cleaner, since harsh chemicals can dull the finish. Wipe up spills right away, especially near the nosing edge where moisture can seep underneath. Check the adhesive bond once a year in homes with heavy foot traffic.
DIY or Call a Professional?
A straight staircase with square steps is a realistic weekend project for a confident DIYer. Curved stairs, winders, or open sided staircases involve compound cuts that are far less forgiving. If your stairs fall into that second category, hiring a flooring professional saves time and avoids costly redo work.
Final Thoughts
Vinyl plank flooring on stairs is a smart upgrade when it is installed the right way. Remove the padding, glue every piece down, and respect the code details on riser height and nosing size. Do that, and your staircase will hold up to years of daily use while matching the rest of your home.
Frequently Asked Questions
Can you put vinyl planking on stairs?
Yes, but every piece must be glued down, not floated. Floating planks work loose under the repeated impact of foot traffic on a stair edge.
Does LVP look good on stairs?
Luxury vinyl plank can look very close to real wood on stairs, especially when the nosing color matches the plank. The result blends well with existing vinyl or hardwood floors nearby.
Is it hard to put LVP on stairs?
It takes more precision than a flat floor install, mainly because every tread and riser needs its own exact measurement. A straight staircase is manageable for an experienced DIYer with the right tools.
What is the most affordable way to cover stairs?
Plank plus stair nosing is generally the most affordable finishing method. It avoids the higher cost of one-piece stair treads.
What type of flooring is best on stairs?
The best choice depends on your priorities. Vinyl plank balances cost, durability, and looks well for most households. Hardwood suits homes prioritizing resale value. Carpet suits homes that want sound and softness underfoot.
What are common vinyl plank mistakes?
The most common mistake is floating the planks instead of gluing them down. Skipping backing removal and rushing measurements cause most of the other problems homeowners run into.

About HomeFixStyle
HomeFixStyle is a home improvement blog dedicated to helping readers create better, more comfortable, and stylish homes. We share practical ideas, helpful guides, home decor inspiration, renovation tips, and simple solutions for everyday home projects. Our goal is to make home improvement easier to understand and apply, whether you are updating one room or improving your entire home.