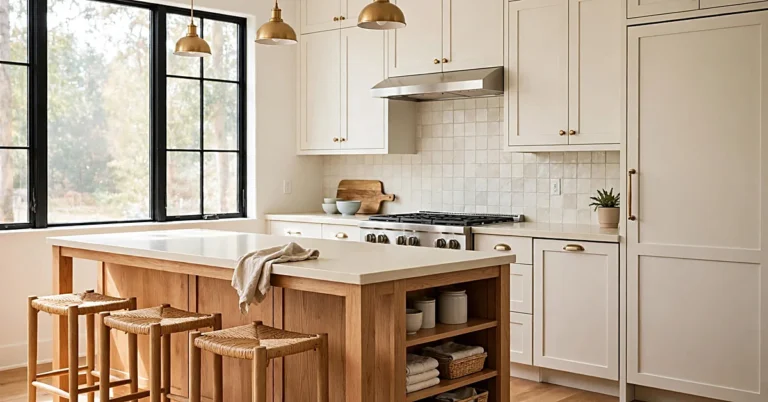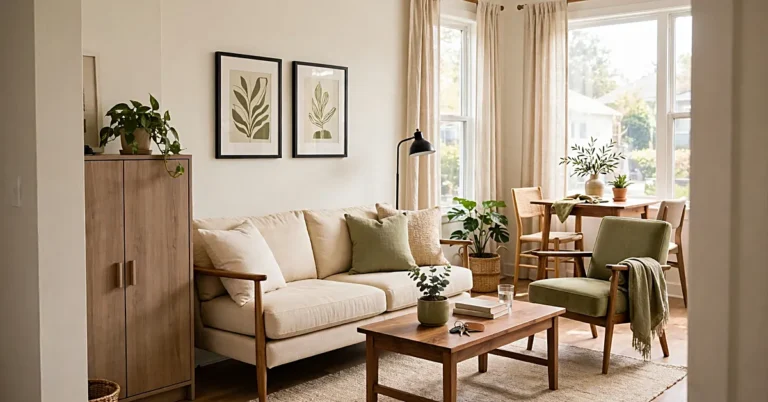

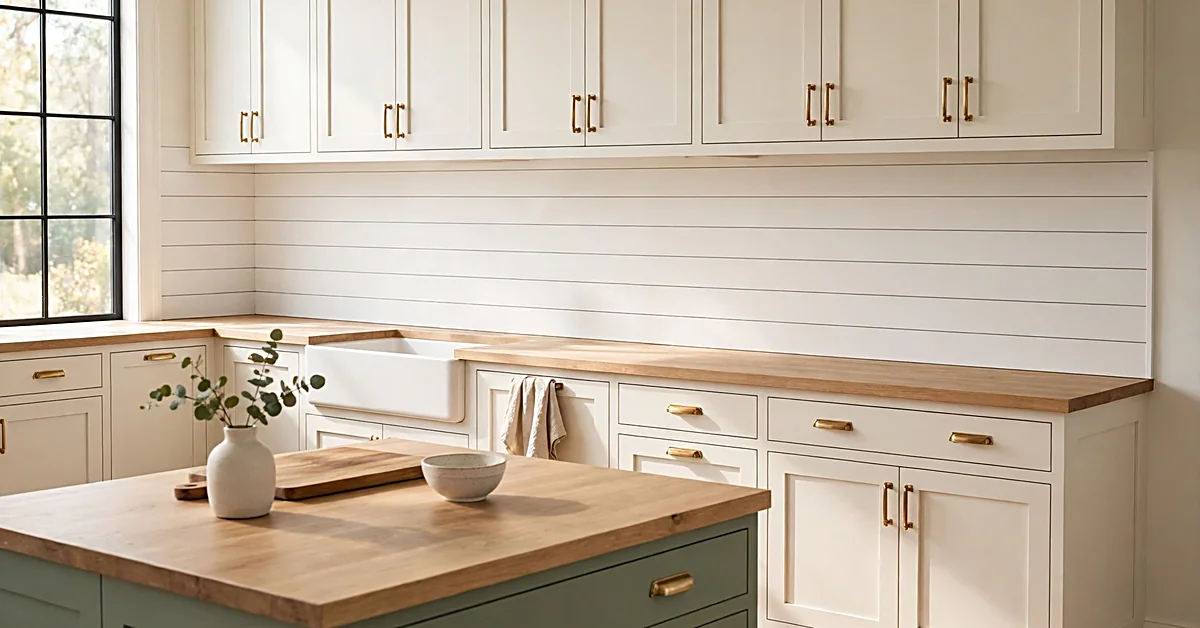
A shiplap kitchen backsplash adds warmth and texture without requiring a full remodel. White boards suit farmhouse cabinets, while natural wood pairs well with stone countertops. Vertical panels give walls a modern look, and horizontal boards create a traditional feel.
But choosing the right design means thinking beyond color. Kitchen walls face water splashes, cooking grease, and heat. Some materials handle these conditions better than others.
Below are 25 shiplap backsplash kitchen ideas, material comparisons, costs, installation steps, and maintenance tips. You’ll also learn where shiplap works best and when tile makes more sense. If you’re updating several parts of your space, match the backsplash with your other kitchen ideas for a connected look.
What Is a Shiplap Kitchen Backsplash?
Shiplap is wall paneling made from boards with overlapping edges. Traditional boards have rabbeted joints that form straight lines across the wall. Many modern panels imitate this appearance without using traditional shiplap joints.
You can install the boards horizontally or vertically. Painted finishes create a clean look, while stained wood shows its natural grain. Shiplap differs from beadboard, which has narrower repeating grooves. It also differs from tile, which uses a separate setting and grouting system.
Decorative wall panels don’t automatically protect against moisture or cooking heat. Always check the product’s intended use before installation.
25 Shiplap Backsplash Kitchen Ideas
1. Classic White Shiplap with Shaker Cabinets
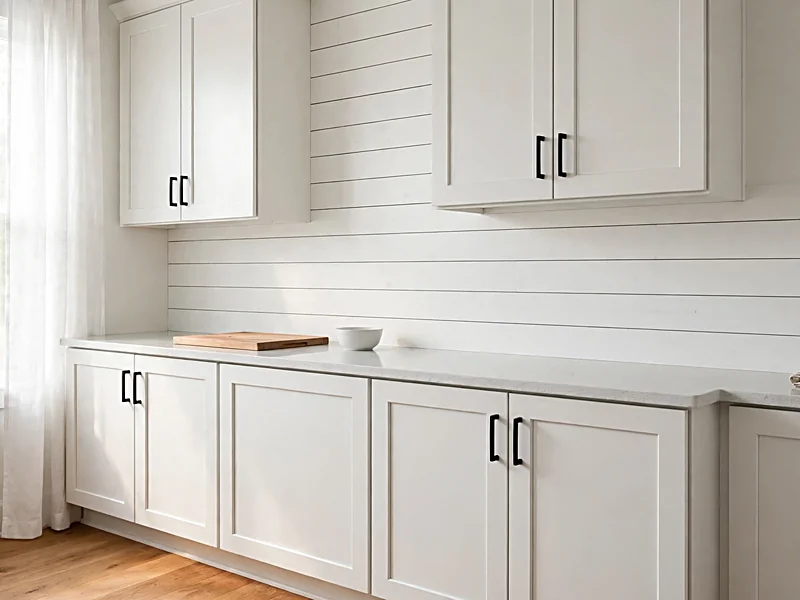
White shiplap pairs naturally with Shaker cabinets because both have simple lines. The boards add texture without making the kitchen feel crowded. Choose warm white beside cream countertops or cooler white with gray quartz. Black handles provide contrast, while brass hardware adds warmth.
This combination suits farmhouse kitchens, especially with natural wood floors and simple pendant lights.
2. Vertical Shiplap for a Modern Kitchen
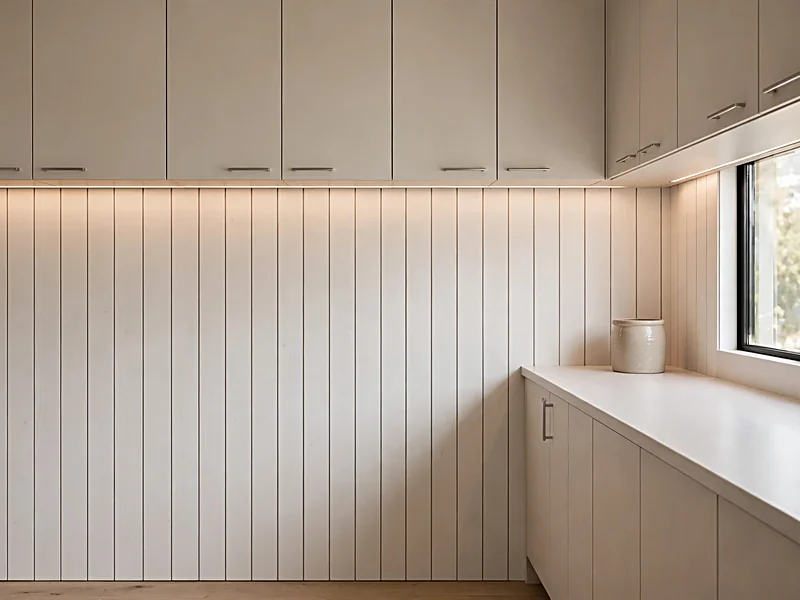
Vertical shiplap makes a kitchen wall appear taller by drawing the eye upward. Pair narrow panels with flat-front cabinets and simple hardware. Warm white and soft green work well in modern spaces.
Measure carefully before installation. A crooked starting board becomes noticeable beside cabinet edges and windows.
3. Natural Wood Shiplap with White Cabinets

Natural pine or oak brings warmth to a kitchen filled with white surfaces. Light wood pairs nicely with white Shaker cabinets and pale countertops. Repeating the wood tone on floating shelves creates a connected appearance. Similar finishes also suit cozy kitchen ideas with warm lighting and cream cabinets.
Choose a protective finish approved for the wood and its expected exposure. Avoid leaving unfinished boards near a busy sink.
4. Horizontal Shiplap in a Farmhouse Kitchen
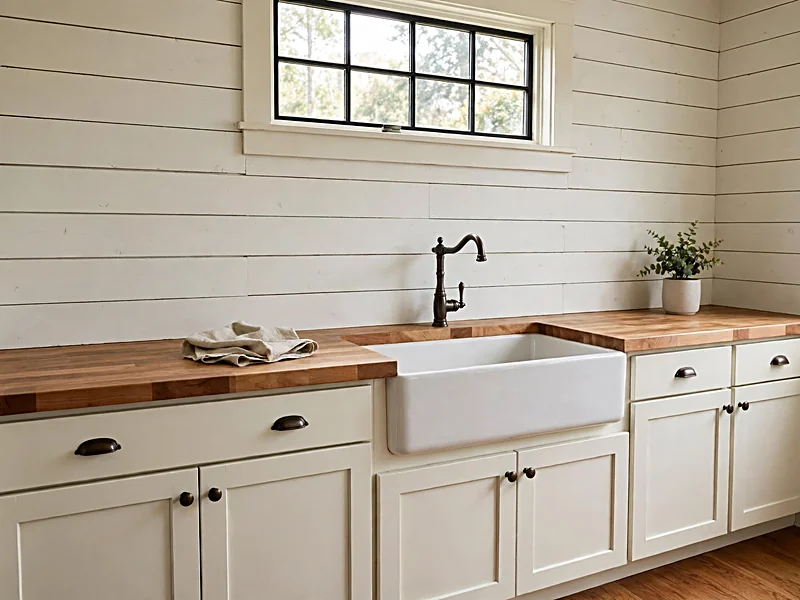
Horizontal boards create the familiar farmhouse appearance many homeowners prefer. Use wider boards for fewer visible joints. Narrow panels create more texture but also add grooves that need cleaning.
Off-white shiplap pairs well with apron-front sinks, butcher block countertops, and traditional cabinet hardware. Choose a smooth finish if you cook frequently.
5. Black Shiplap with Light Countertops
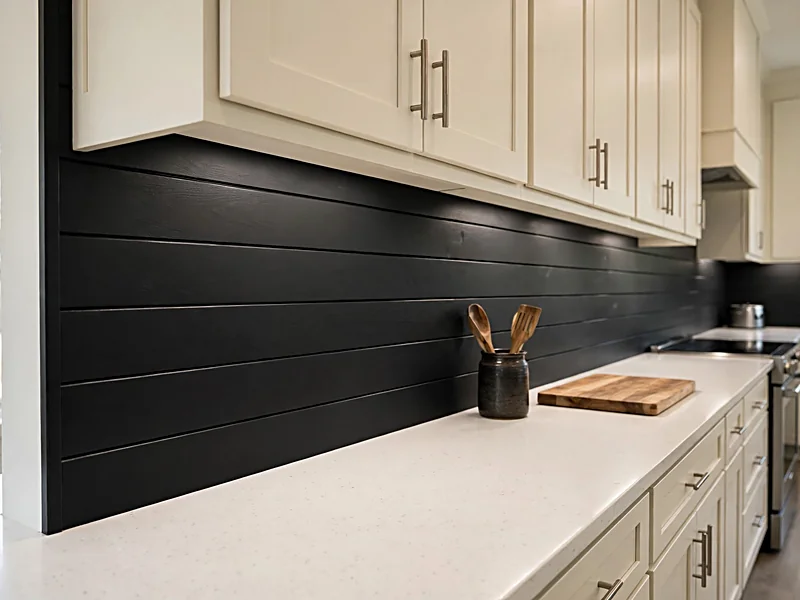
Black shiplap creates contrast against white quartz and cream cabinets. It works well in modern kitchens with stainless steel appliances and simple cabinet doors.
Use it on a smaller wall if your kitchen has limited daylight. Light countertops and undercabinet lighting help balance the dark finish. Remember that dust and grease may show more clearly on black surfaces.
6. Sage Green Cabinets with White Shiplap
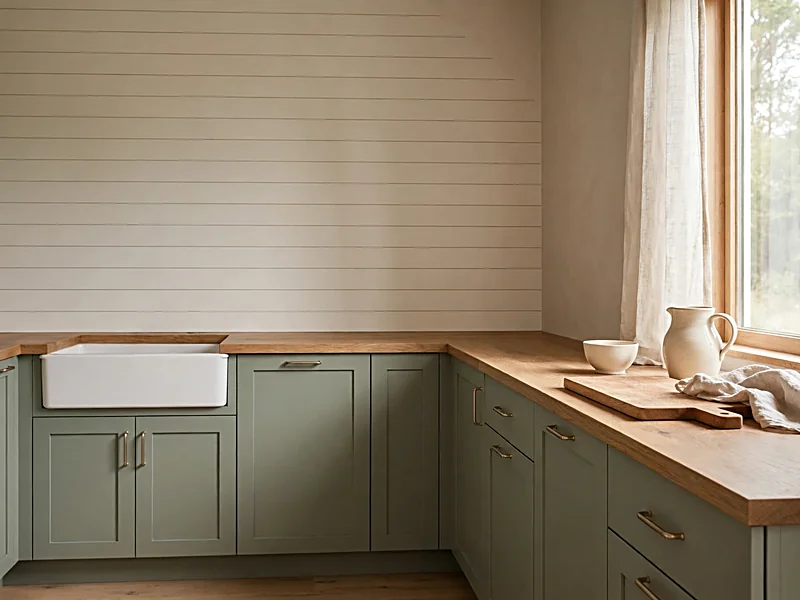
Sage green cabinets look soft and natural beside white shiplap. Warm wood countertops and brass handles complement the green without adding another strong color.
Choose white paint with an undertone that suits the cabinetry. Compare samples in natural and artificial light. Keep decorative accessories simple so the cabinet color remains the main feature.
7. Gray Shiplap with Warm Wood Accents
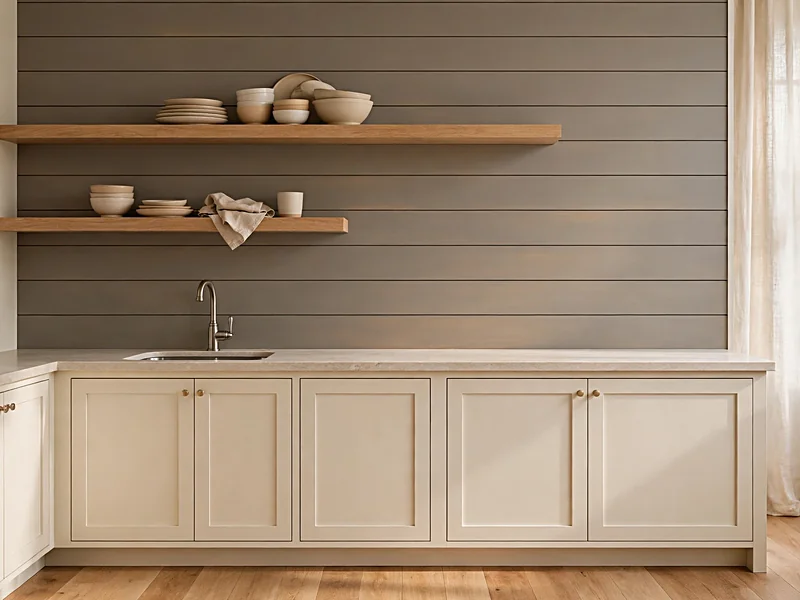
Soft gray shiplap works with oak shelves, cream cabinets, and natural wood flooring. Warm wood balances the cooler appearance of gray.
Choose a gray paint with beige undertones if your countertops or flooring are warm-colored. Avoid mixing several unrelated gray shades. Test samples against the cabinets before painting the entire wall.
8. Coastal Shiplap with Pale Blue Cabinets

White shiplap and pale blue cabinets create a relaxed coastal kitchen. Horizontal boards feel more traditional, while vertical panels suit a modern coastal style.
Natural wood floors and light countertops complete the look without requiring heavy decoration. For a warmer appearance, use cream panels instead of bright white.
9. Shiplap with Butcher Block Countertops
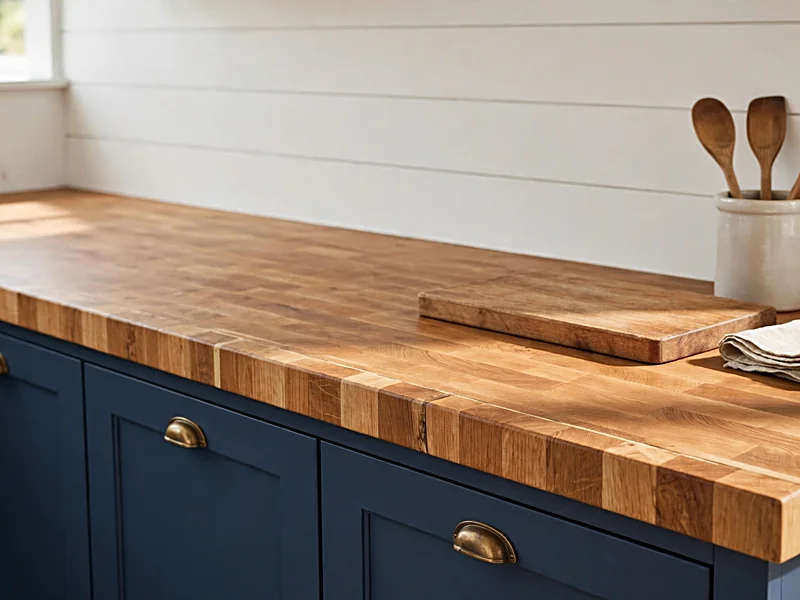
Butcher block countertops bring natural wood texture into the kitchen. White shiplap balances that texture and keeps the wall looking light.
Choose dark green, navy, or cream cabinets to complete the color scheme. Protect the joint where the countertop meets the wall using suitable materials. Follow the countertop manufacturer’s care instructions.
10. Shiplap with Marble Countertops
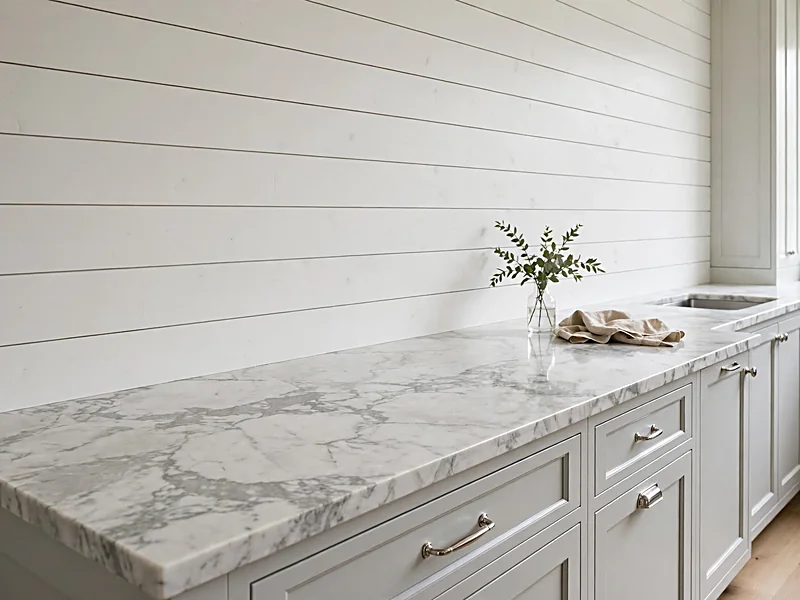
Marble countertops introduce natural veining beside the straight lines of shiplap. White boards let the countertop pattern stand out. Soft gray panels work with cooler marble tones.
Keep cabinet colors simple when the stone has strong veining. A matching marble section can also protect a selected wall area where water splashes regularly.
11. Shiplap with Soapstone Countertops
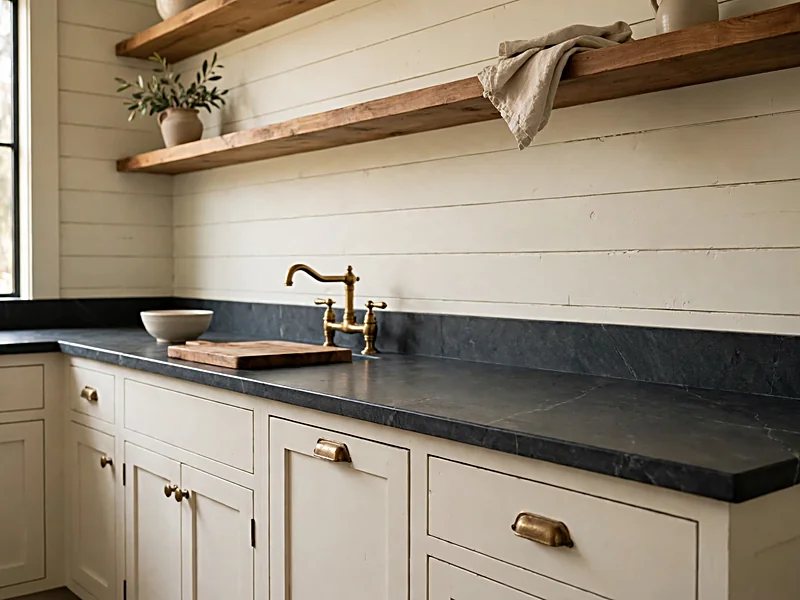
Dark soapstone pairs well with cream or white shiplap. The contrast works in traditional farmhouse kitchens with wood floors and brass fixtures.
Add natural wood shelves if you want a warmer appearance. A short stone upstand can help separate the wall panels from spills at the countertop.
12. Shiplap and Subway Tile Combination
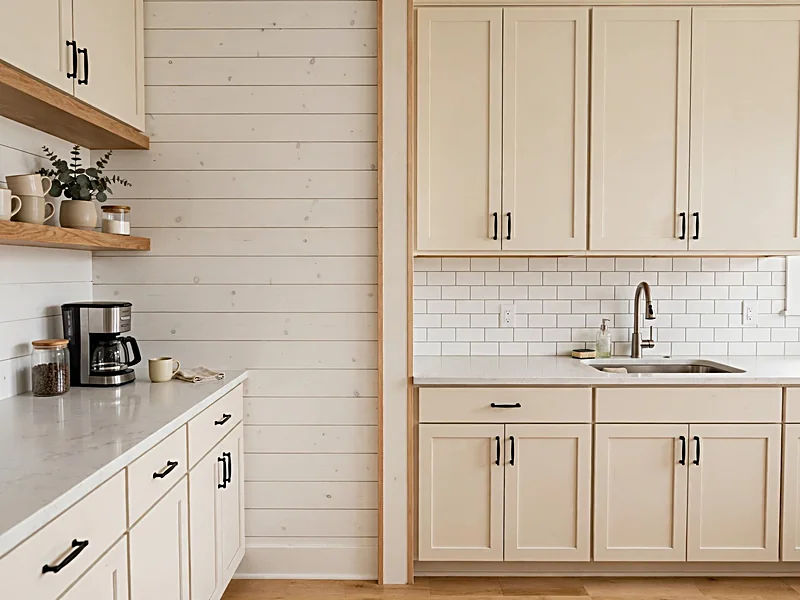
You don’t need the same backsplash material on every kitchen wall. Use shiplap near a coffee station and subway tile behind the sink. Matching colors help the two materials look connected.
For example, white boards and white subway tile can create one continuous color scheme. Use suitable trim where the two surfaces meet.
13. Shiplap with Patterned Tile Behind the Range
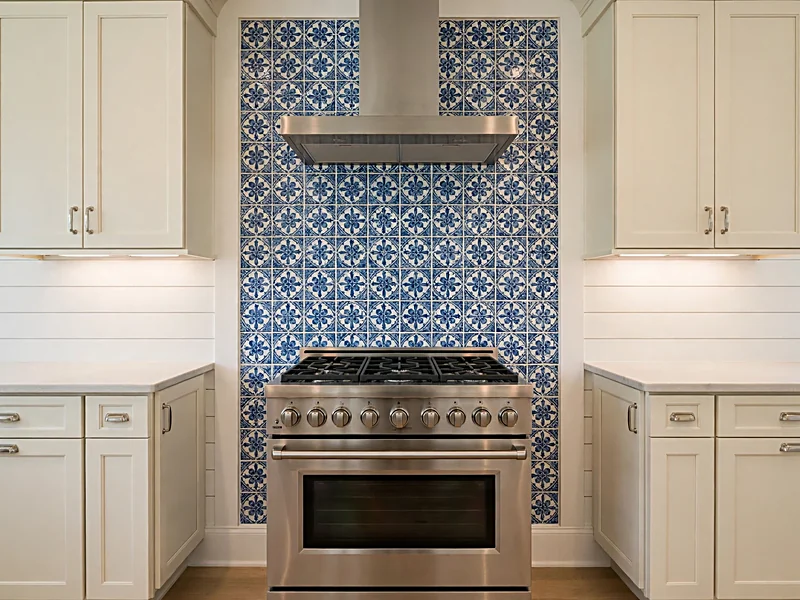
Patterned tile creates a focal point above the stove. Blue designs look good beside white shiplap, while warm terracotta suits cream panels.
Keep the patterned area limited if your cabinets already have detailed doors. Check the range manufacturer’s clearance requirements and the complete wall assembly before installing either finish.
14. Two-Tone Painted Shiplap
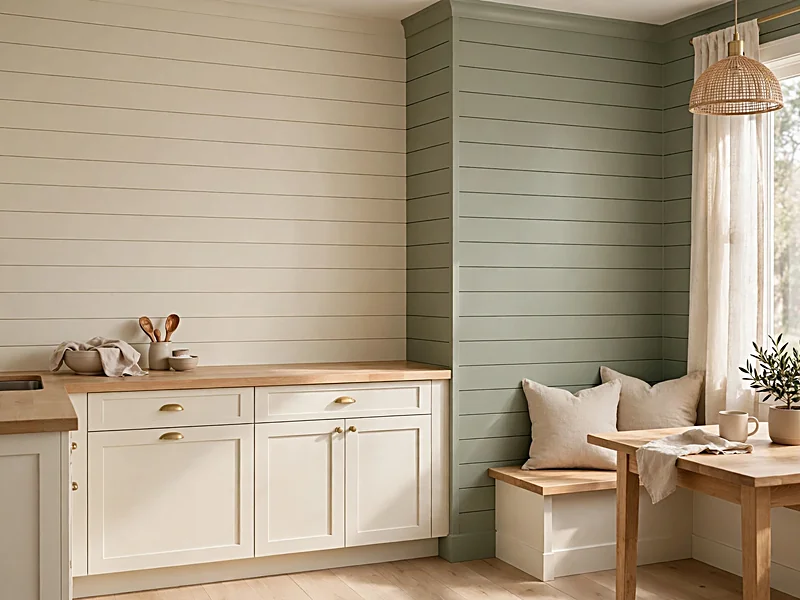
Two-tone shiplap adds color without replacing cabinets. Try cream boards with muted green on an adjoining decorative wall. Gray and white can create a quieter combination.
Place color changes along trim or cabinet edges so they appear planned. Test large paint samples before choosing the final shades.
15. Dark Stained Wood Shiplap
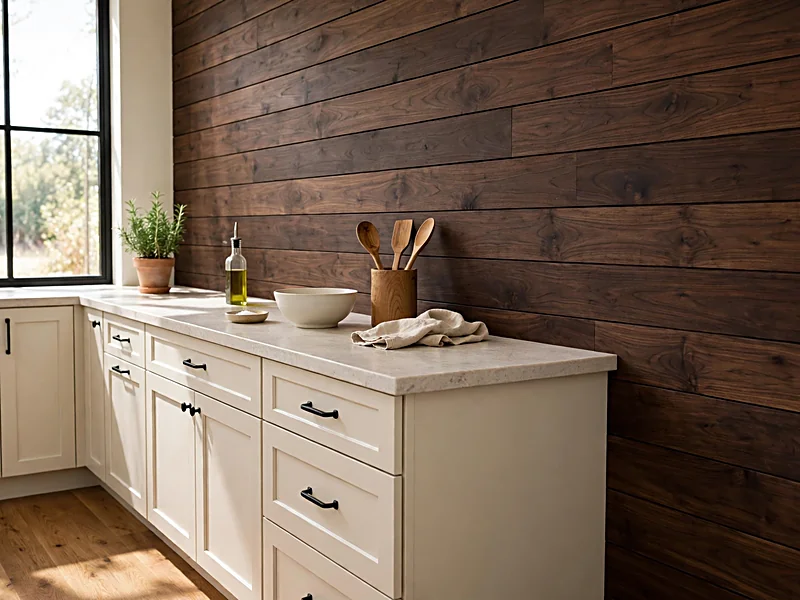
Dark stained boards give a kitchen a rustic appearance. Deep brown finishes pair well with cream cabinets and pale countertops. Black metal handles can complete the look.
Use dark shiplap carefully in smaller kitchens. Covering every wall may make the room feel heavier. Smooth boards are generally easier to clean than rough wood.
16. Light Oak Shiplap in a Scandinavian Kitchen
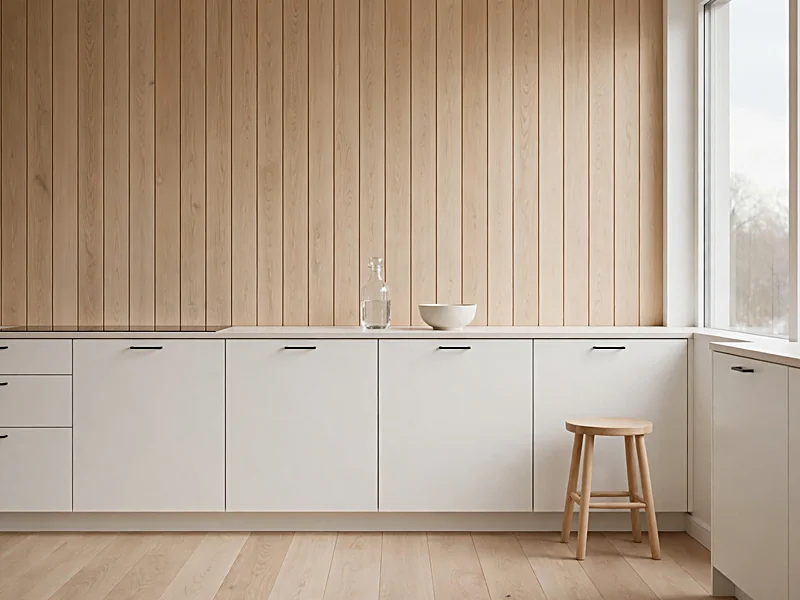
Light oak pairs naturally with white cabinets and simple countertops. Vertical panels give the kitchen a contemporary appearance. Natural wood floors can make the design feel connected.
Keep decorative accessories limited and choose simple cabinet hardware. Test protective finishes on a spare board because some coatings change the wood color.
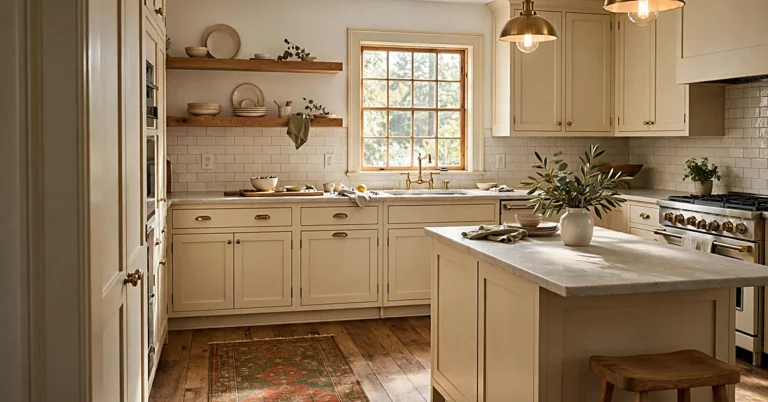
17. Cottage Kitchen with Open Shelving
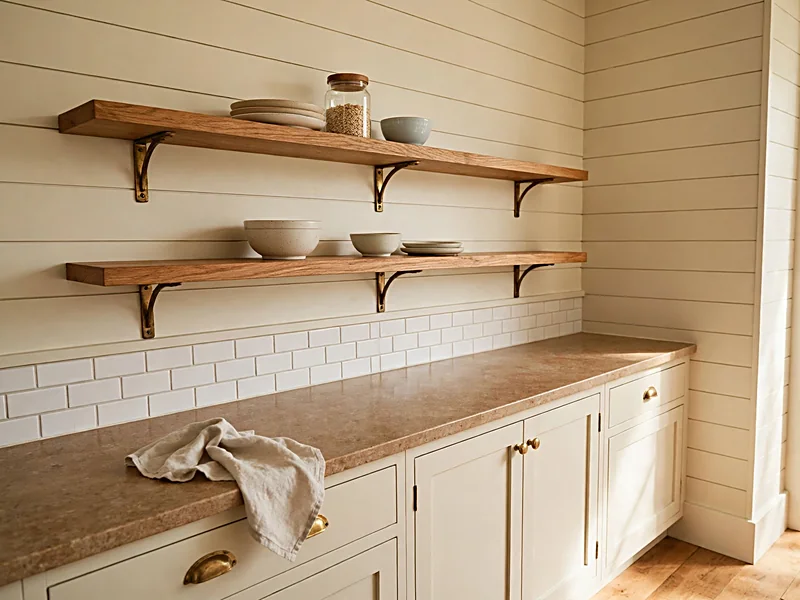
Cream shiplap and natural wood shelves work well in cottage kitchens. Use open shelves for everyday dishes, ceramic containers, and a few small accessories. These details also fit other kitchen decor ideas that combine natural materials and soft colors.
Secure shelves into suitable wall supports. Keep them away from heavy cooking grease when possible.
18. Shiplap Backsplash with a Peg Rail
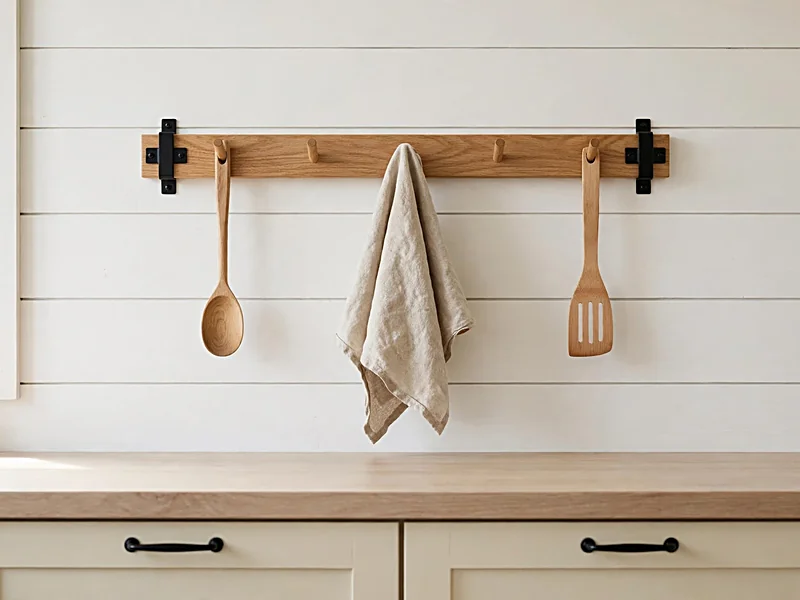
A peg rail provides hanging space above a decorative backsplash. Use it for lightweight kitchen towels or suitable utensils. Match the rail to the wall color for a subtle appearance.
Natural wood creates more contrast against painted boards. Attach the rail using appropriate supports. Keep hanging items away from burners and hot surfaces.
19. Small Kitchen with a Low Shiplap Backsplash
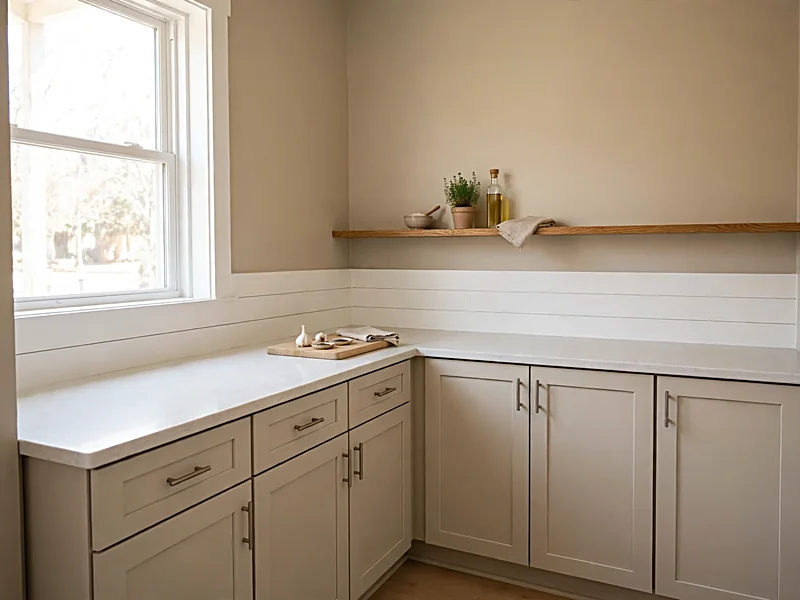
A short shiplap backsplash adds texture without covering the entire wall. This design works well in compact kitchens with open shelving or limited space between counters and cabinets.
Choose a color close to your cabinetry for a calmer look. Consider the actual splash area before choosing the height. A low decorative panel may not protect the wall behind a busy sink.
20. Countertop-to-Ceiling Shiplap
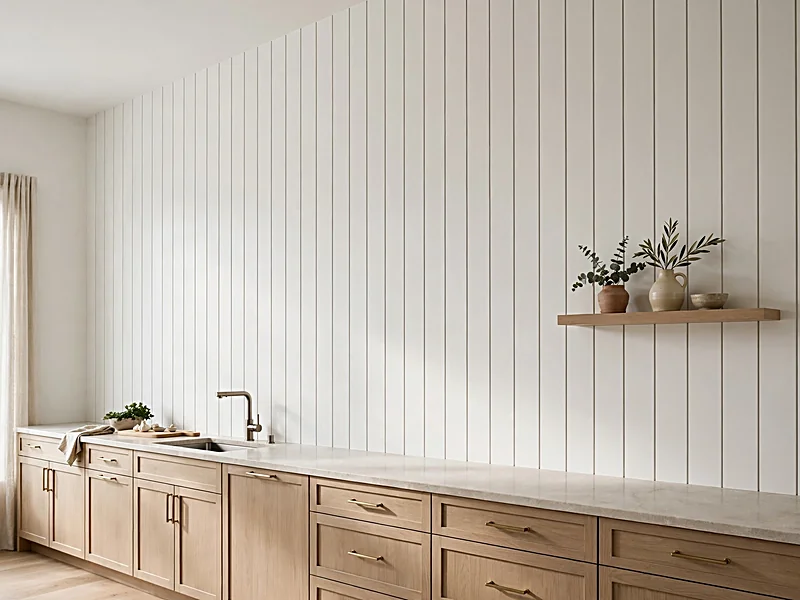
Full-height shiplap turns an open kitchen wall into a design feature. Vertical boards emphasize ceiling height. Horizontal panels create a more traditional appearance.
This approach suits walls without upper cabinets. Plan around windows, outlets, and range hoods before cutting boards. Select appropriate materials wherever heat or moisture reaches the surface.
21. Shiplap Around a Kitchen Window
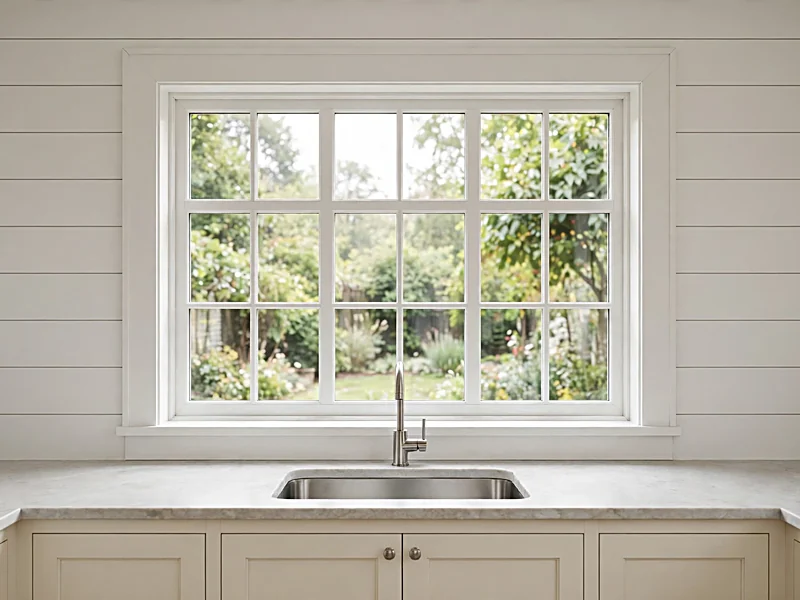
Shiplap can frame a kitchen window and connect it with surrounding cabinets. Paint the boards and window trim the same color for a continuous appearance.
Natural wood trim creates contrast against white panels. Measure both sides of the window separately. Older openings may not be perfectly square. Pay attention to water exposure around the sill if the window sits above a sink.
22. Shiplap with Dark Green Cabinets
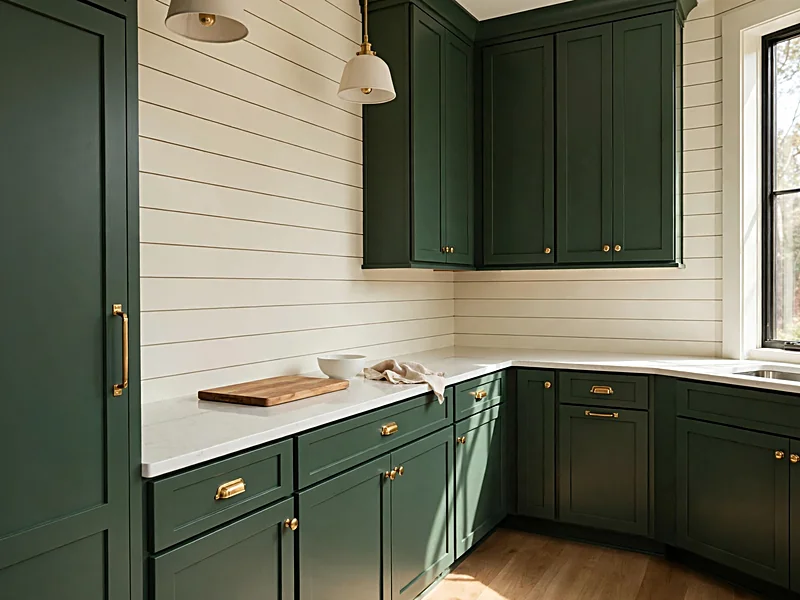
Dark green cabinets pair well with cream shiplap and white quartz countertops. Brass hardware brings warmth, while wood flooring keeps the room from feeling too formal.
Choose simple board profiles beside detailed cabinet doors. This combination works especially well in traditional and modern farmhouse kitchens.
23. Taupe Shiplap with Brass Hardware
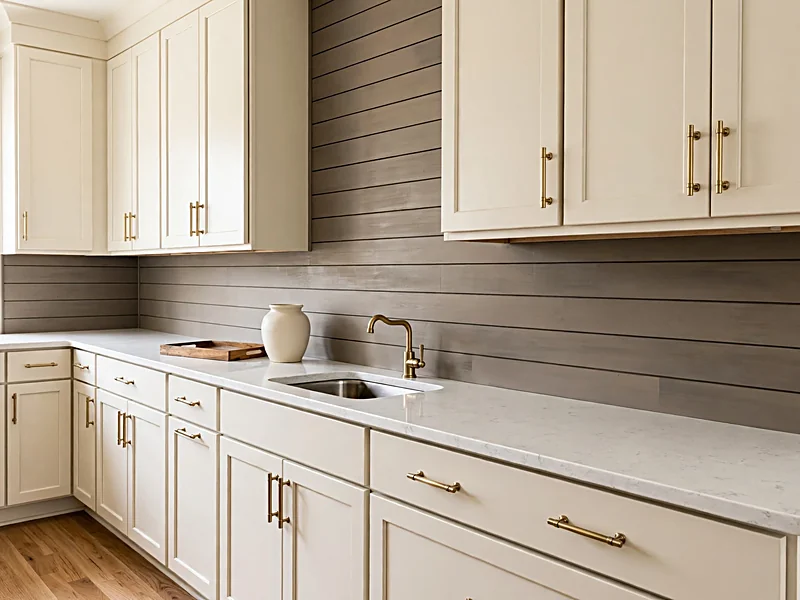
Taupe offers a warm neutral color between gray and brown. Pair it with cream cabinets, light countertops, and brushed brass handles.
Some taupe paints appear pink or purple under certain lights. Test a large sample in your kitchen before painting all the boards.
24. Minimalist White-on-White Kitchen
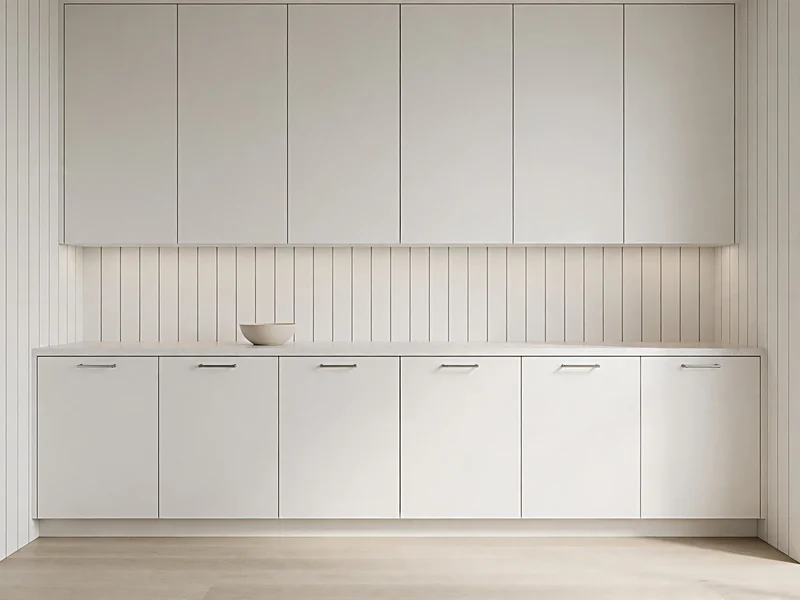
White shiplap adds texture behind white cabinets without changing the color scheme. Choose narrow vertical boards for a modern appearance. Horizontal panels create a softer farmhouse look.
Compare white paint samples with the cabinets and countertops. Small differences in undertones become noticeable when similar colors sit next to each other.
25. Shiplap Accent Wall Beyond the Backsplash
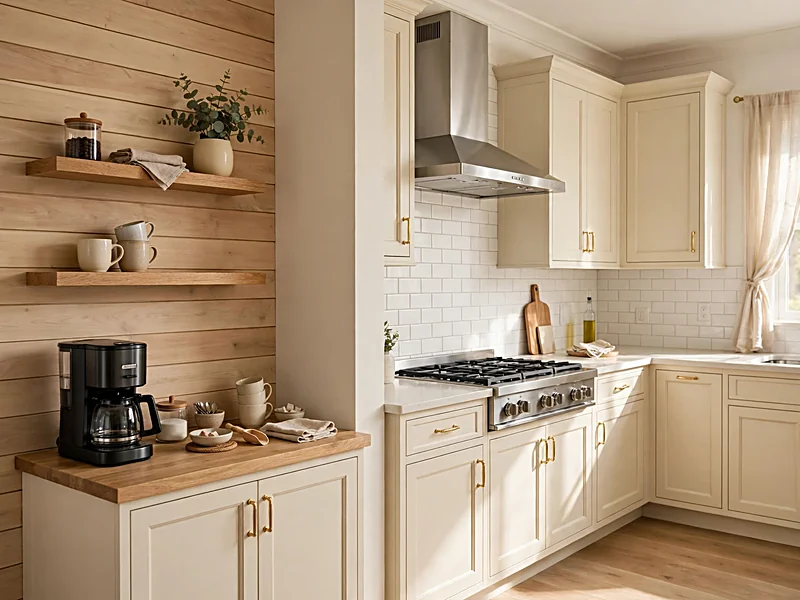
Sometimes a nearby decorative wall is a better place for shiplap. A pantry, breakfast nook, or coffee station can carry the wood texture without facing constant water or heat.
Match the panels to the cabinets or trim. This approach works especially well when tile covers the busier kitchen walls.
Is Shiplap a Good Choice for a Kitchen Backsplash?
Yes, shiplap can work well on kitchen walls where the material suits the conditions. It offers several color and layout options. Some products are also suitable for DIY installation.
However, grooves collect dust and grease. Wood and standard MDF may suffer damage from repeated moisture. The best location depends on the panel material, finish, and nearby appliances.
Benefits of Shiplap
Shiplap provides visible texture without requiring patterned tile. Paintable boards offer many color options. Natural wood adds warmth, while vertical panels suit modern kitchens.
Some homeowners may also save on labor through DIY installation. The final cost depends on the product, tools, preparation, and finishing work.
Drawbacks to Consider
Horizontal grooves require regular cleaning. Water can enter exposed joints and damage unsuitable panels. Paint may chip around sinks and countertops.
Wood is also combustible. A painted surface isn’t automatically suitable behind a cooking appliance. Consider these limitations before purchasing materials.
Which Shiplap Material Works Best in a Kitchen?
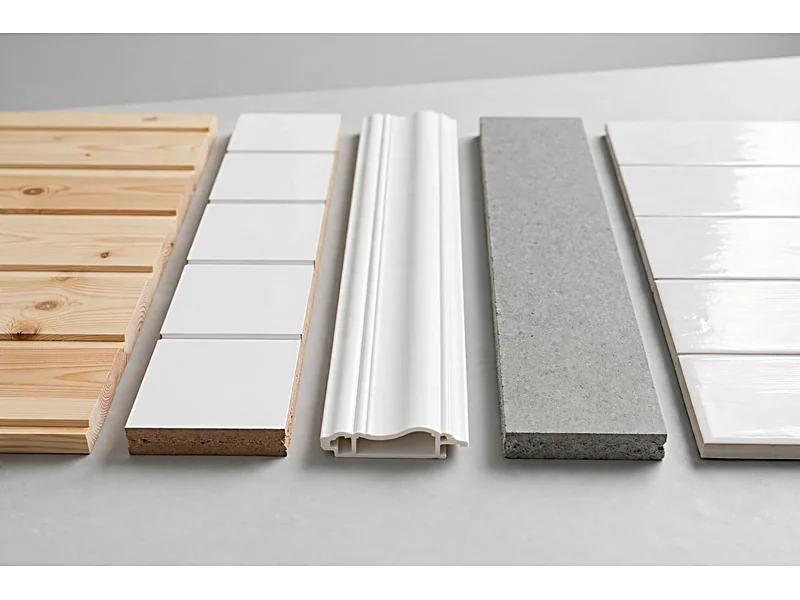
Choose the material based on where it will be installed. A decorative wall beside a coffee station faces different conditions from the area behind a stove.
| Material | Main advantage | Main limitation | Suitable location to consider |
| Solid wood | Natural grain and paint options | Can absorb moisture | Lower-exposure decorative walls |
| Standard MDF | Smooth, paintable surface | Can swell when wet | Dry areas approved by its manufacturer |
| PVC panels | Some products resist moisture well | Heat and fire ratings vary | Approved interior wall locations |
| Fiber cement | Certain products are noncombustible | Not all boards are approved indoors | Manufacturer-approved applications |
| Shiplap-look tile | Easy-to-wipe finished surface | Needs proper tile installation | Suitable wet or cooking areas |
Solid Wood Shiplap
Pine is a common choice for painted panels. Natural wood can expand and contract as conditions change. Follow the manufacturer’s spacing and fastening instructions.
Finish exposed cuts where required.
MDF Shiplap Panels
MDF provides a smooth surface for painted designs. Standard MDF absorbs moisture and can swell when wet.
Moisture-resistant products may have different performance limits. Check the exact product’s approved applications.
PVC Shiplap Panels
Some PVC panels tolerate occasional splashes better than unfinished wood. However, PVC products have different temperature limits and fire classifications.
Don’t assume a moisture-resistant panel is suitable behind a stove.
Fiber-Cement Boards
Certain fiber-cement products resist moisture and meet noncombustibility classifications. However, exterior siding isn’t automatically approved for interior kitchen use.
James Hardie has stated that its siding products aren’t designed, tested, or approved for interior applications. Check the specific product before choosing fiber cement for a backsplash.
Shiplap-Look Tile
Ceramic and porcelain tiles can imitate the appearance of wood planks. Glazed surfaces are often easier to clean than textured wooden boards.
The tile, grout, sealant, and underlying wall assembly must suit the installation location.
Can You Use Shiplap Behind a Kitchen Sink?
Shiplap may work behind a sink when the product is approved for the expected moisture exposure. Untreated wood and standard MDF can absorb water through joints and exposed edges.
Paint offers some protection, but it doesn’t make wood waterproof. Choose a suitable material and follow its finishing instructions. Use compatible sealant where required.
Sink depth and faucet position also affect water splashing. Consider these details when comparing kitchen sink ideas.
For heavily used sinks, a smooth tile or stone backsplash may be easier to maintain.
Can You Install Shiplap Behind a Stove?
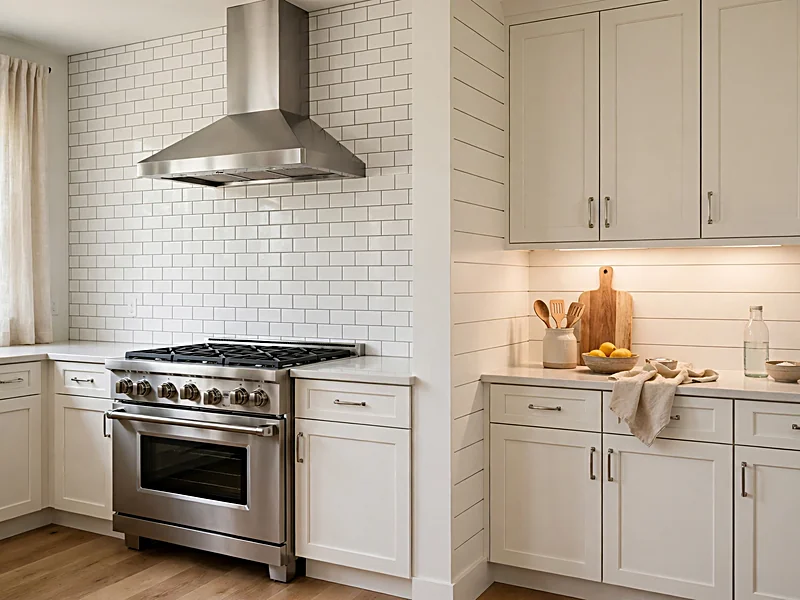
Don’t install decorative wood, MDF, or PVC near a stove without checking the applicable requirements. Cooking appliances expose surrounding surfaces to heat and grease. Gas and electric ranges may have different clearance requirements.
The correct installation depends on the appliance model, wall assembly, material, and local requirements. According to GE Appliances’ clearance guidance, homeowners should follow their exact model’s installation instructions.
Ceramic tile is noncombustible, but the complete wall assembly must still meet applicable requirements. Protective paint doesn’t automatically make combustible boards safe near a cooking appliance.
When uncertain, consult a qualified installer.
How Much Does a Shiplap Kitchen Backsplash Cost?
Shiplap costs vary by panel material, finish, wall size, and installation method. Current US retail listings show why comparing material prices matters.
For example, Home Depot lists decorative shiplap-style products at different prices per square foot.
| Example retail product | Listed price per sq. ft. |
| White nickel-gap shiplap wall panel | $1.17 |
| Primed MDF decorative shiplap planks | $2.83 |
| Prefinished classic white shiplap panels | $6.54 |
These are example retail listings checked in October 2026, not national averages. Product prices, availability, and approved applications may vary. The listed products are not necessarily interchangeable.
Example DIY Materials Budget
Consider a backsplash measuring 12 feet wide and 18 inches high. That gives you 18 square feet of wall area. Adding 10% for waste produces a 19.8-square-foot material allowance.
Using the example retail rates above, the panel material alone would cost approximately $23 to $130 before package rounding. You’ll also need supplies such as trim, paint, filler, fasteners, and sealant.
Remember to account for tools, delivery, taxes, and any wall repairs.
DIY vs. Professional Installation
DIY installation can reduce labor costs if you already own the tools. Professional help may be appropriate for uneven walls, difficult layouts, or complex trim.
Electrical modifications should receive qualified attention. Request local quotes that separate preparation, materials, labor, and finishing.
How to Calculate Material Quantity
Measure each backsplash section separately. Multiply the width in feet by its height in feet to find the area.
For a 12-foot-wide wall with an 18-inch backsplash:
12 × 1.5 = 18 square feet.
With 10% extra material:
18 × 1.10 = 19.8 square feet.
Check the manufacturer’s usable board coverage before ordering.
How to Install a Shiplap Kitchen Backsplash
Shiplap installation can suit experienced DIY homeowners. The correct method depends on the material, wall condition, and product instructions.
Gather Tools and Materials
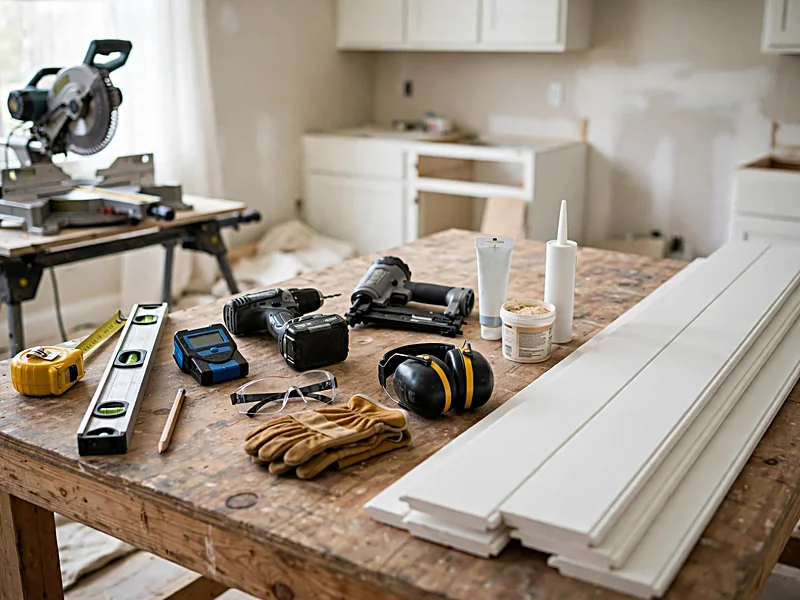
Common tools include a tape measure, pencil, level, stud finder, and suitable saw. You may also need recommended fasteners, adhesive, trim, primer, paint, and filler.
Wear appropriate eye and hearing protection when cutting boards.
Prepare the Wall
Check for loose finishes, water damage, or uneven surfaces. Repair problems before attaching new panels.
Clean the wall and let it dry. Confirm whether your chosen boards require studs, solid backing, or another attachment method.
Measure and Plan the Layout
Measure the backsplash height in several locations. Countertops and cabinets aren’t always perfectly level.
Decide whether the boards will run horizontally or vertically. Mark a level reference line and plan cuts around windows and outlets.
Cut and Install the Boards

Measure each board before cutting. Use the cutting tools and safety methods recommended for the selected product.
Dry-fit the first piece to check alignment. Attach boards using the approved method and check the level regularly.
Allow movement gaps where the manufacturer requires them.
Finish Corners and Outlets
Use suitable trim for exposed edges and corners. Adding panel thickness can affect electrical outlet placement.
Electrical work requires proper precautions, including disconnecting and verifying power. The Electrical Safety Foundation International recommends using qualified professionals for home electrical work.
Ask an electrician when outlet boxes or wiring need adjustment.
Prime, Paint, and Seal
Some boards are easier to paint before installation. Follow the manufacturer’s primer and coating instructions.
Finish exposed edges and approved joints as directed. Allow paint and sealant to cure before normal kitchen use.
Shiplap vs. Tile: Which Backsplash Is Better?
Shiplap and tile suit different kitchen needs. Shiplap offers wood texture and flexible paint colors. Tile often handles regular splashing and cleaning more easily.
| Feature | Shiplap | Ceramic or porcelain tile |
| Appearance | Visible lines and wood texture | Many colors and patterns |
| Moisture exposure | Depends on material and finish | Often suitable with correct installation |
| Cleaning | Grooves need attention | Glazed surfaces wipe easily |
| Heat | Combustible materials need clearance checks | Tile itself is noncombustible |
| Installation | Cutting and fastening boards | Cutting, setting, and grouting |
| Repair | May require replacing boards | Individual tiles may be repairable |
A mixed-material backsplash can be a practical choice. Use suitable tile near the sink or stove and decorative panels on less exposed walls.
How to Clean and Maintain Shiplap
Regular cleaning prevents grease and dust buildup. Wipe boards with a soft cloth and a cleaner approved for the finish.
Use a soft brush for grooves. Avoid soaking wood or MDF. Check paint and joints for damage, especially near the sink.
Swelling, stains, or persistent dampness may indicate moisture problems. Find and repair the cause before repainting.
Common Shiplap Backsplash Mistakes to Avoid
Choosing boards by appearance alone: Check moisture resistance, heat limits, and approved applications.
Starting with an uneven board: Use a level before attaching the first piece.
Leaving exposed edges unfinished: Treat cuts according to the product instructions.
Using unsuitable fasteners: Follow the recommended installation method.
Ignoring outlet depth: Added wall thickness may require electrical corrections.
Installing combustible panels near heat: Check the appliance and wall assembly requirements first.
Buying too little material: Measure carefully and account for cutting waste.
Adding too many competing finishes: Keep the backsplash simple when cabinets and countertops already have strong patterns.
Frequently Asked Questions
Is Shiplap Still in Style for Kitchens?
Shiplap remains a design option for farmhouse, cottage, coastal, and modern kitchens. Vertical boards and smooth paint create a cleaner appearance. Horizontal boards suit traditional farmhouse interiors.
Choose the finish that fits your cabinets and countertops.
Can You Use Peel-and-Stick Shiplap?
Some peel-and-stick products imitate shiplap boards. Check their approved surfaces, moisture limits, temperature ratings, and removal instructions.
Renters should confirm that installation is allowed and won’t damage the wall.
Do You Need Drywall Behind Shiplap?
Many decorative panels install over existing drywall. Other products require wall studs or specific backing.
Follow the manufacturer’s installation instructions and applicable building requirements.
Can You Paint an Existing Shiplap Backsplash?
Yes, many paintable shiplap surfaces can be refinished. Clean the wall, repair damaged areas, and use compatible primer and paint.
Don’t cover moisture damage with fresh paint.
Can You Use Two Different Backsplashes in One Kitchen?
Yes. Shiplap can cover decorative areas while tile protects busier sections. Choose related colors and finish transitions neatly.
Check that each material suits its intended location.
Final Thoughts
A shiplap kitchen backsplash can add texture and warmth without changing your kitchen’s layout. White boards suit farmhouse cabinets. Natural wood adds warmth, while vertical panels work with modern designs.
Choose the appearance you like, then check the material’s moisture limits, cleaning needs, and installation requirements. Near sinks and stoves, prioritize suitable materials and safe installation over appearance alone. A well-planned backsplash should look good and work for the way you use your kitchen.

About Author
Hello there. I am Lathen Reed, a home improvement and interior design enthusiast. With a passion for creating beautiful, practical, and comfortable spaces, I share helpful ideas and inspiration related to home improvement, home decor, interior design, and home styling. Through HomeFixStyle, my goal is to make home improvement simple, inspiring, and accessible for everyone.